|
|
Post by casias on Sept 20, 2015 10:47:24 GMT -5
I know a lot of people have asked about the dakota/durango 4wd, and the potential for an LS swap. I had never pulled a 4wd drivetrain, so I truly didn't know. Now that has changed. Starting with a very clean 2000 Durango with 172,965 miles, out came the drivetrain. Man those motors stink!  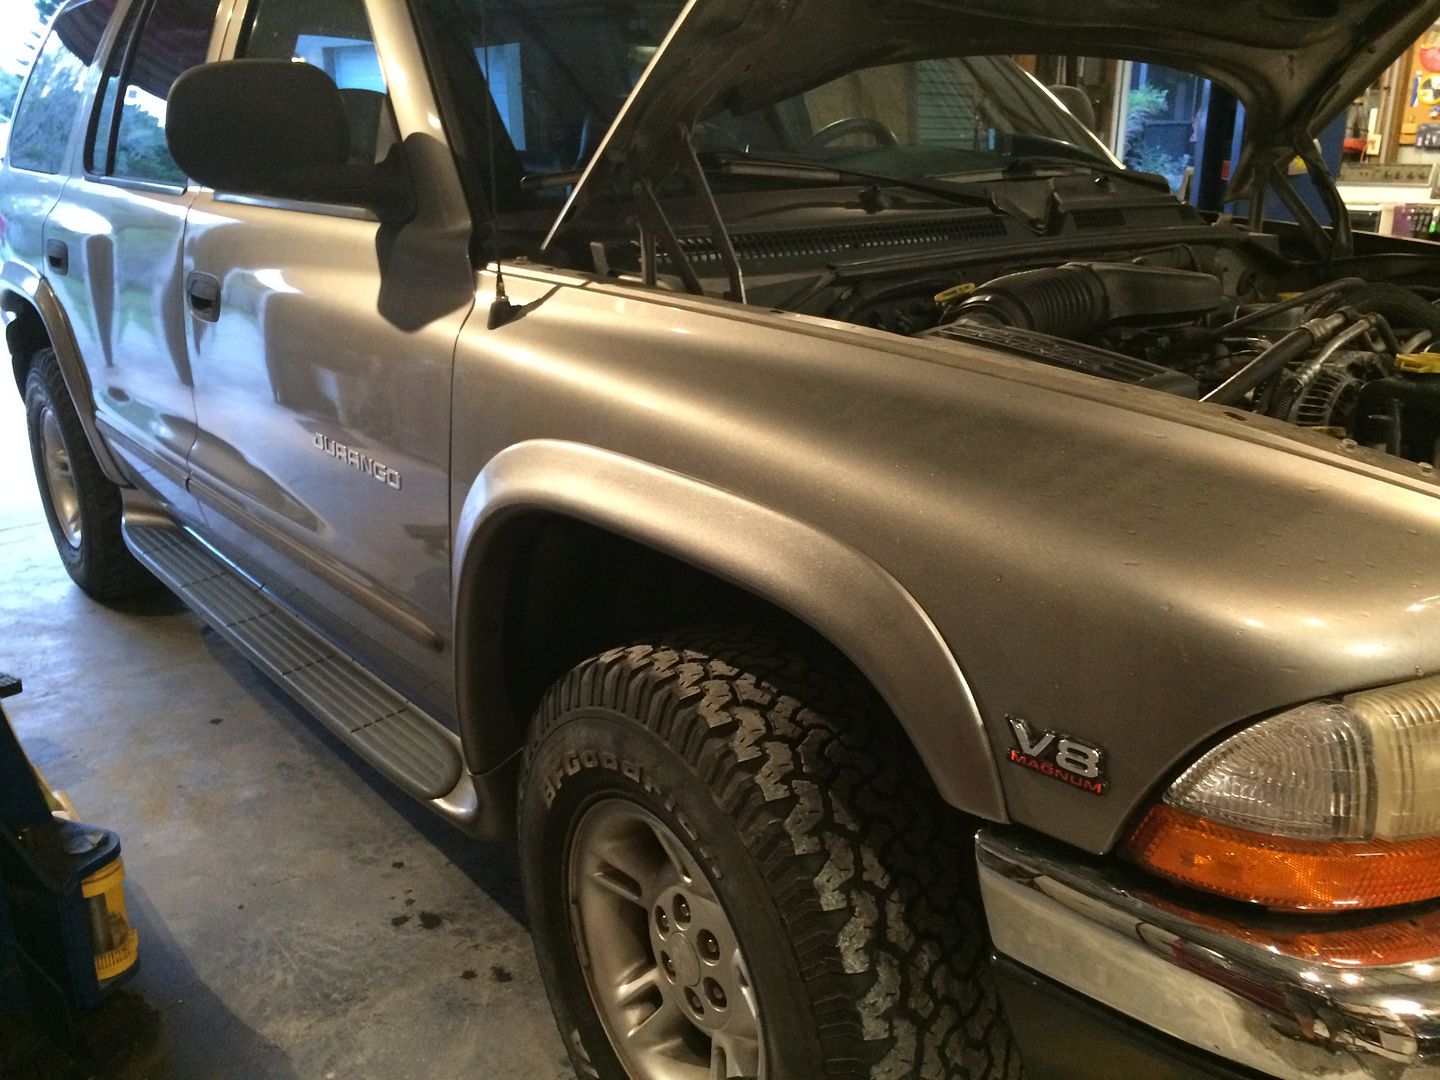  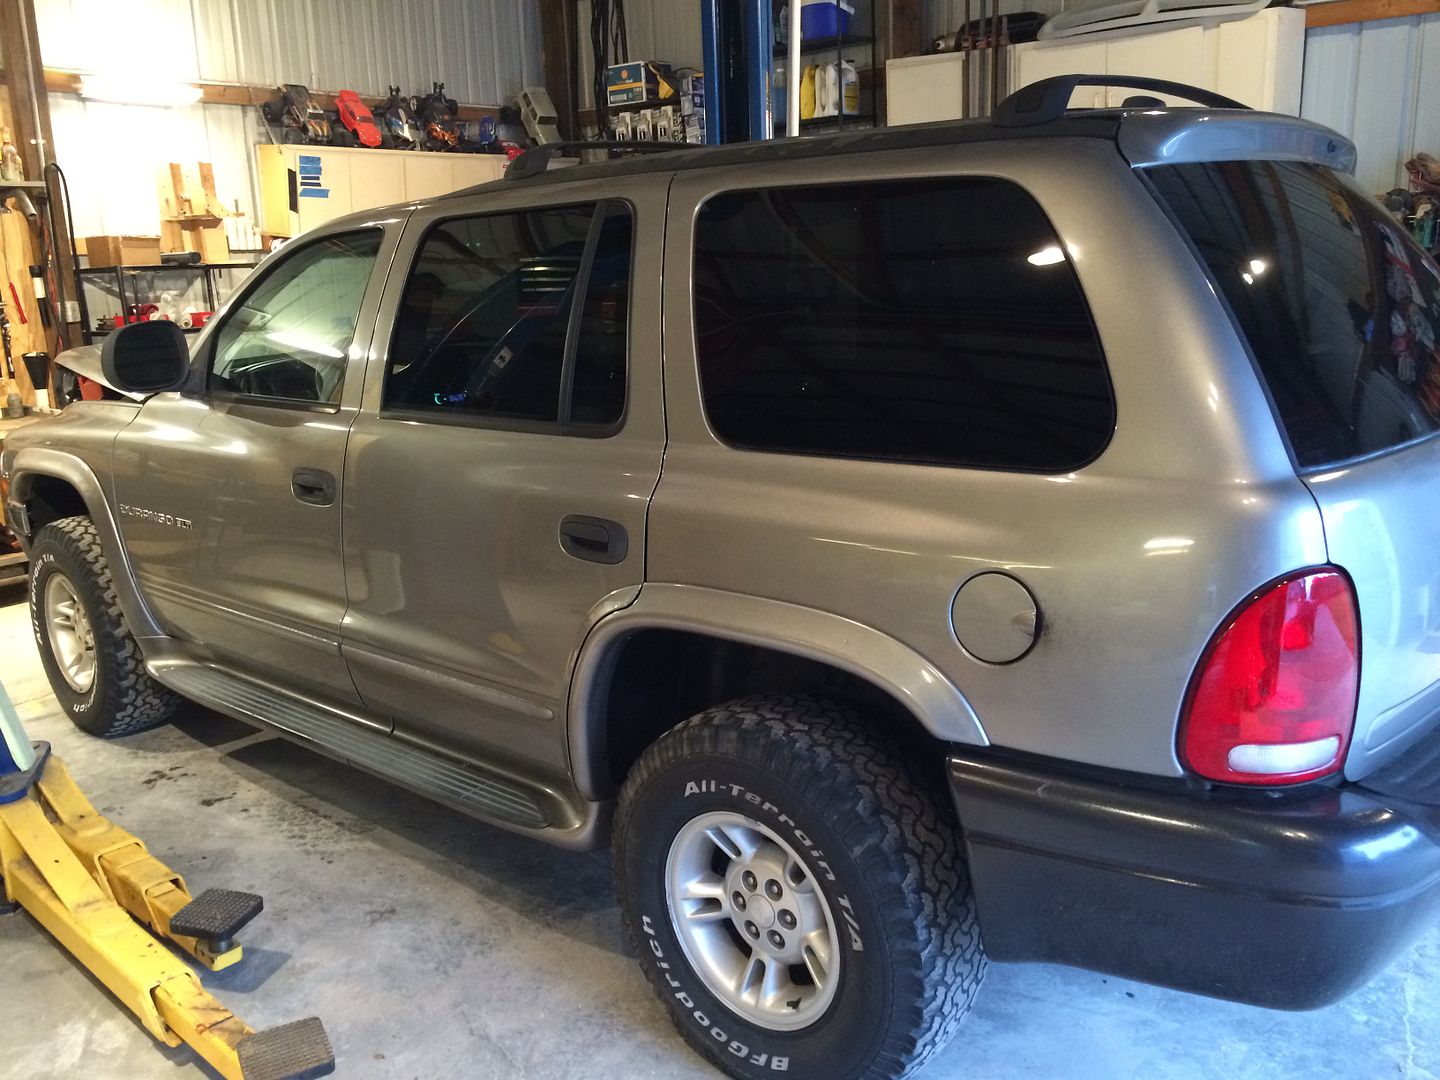 It was pretty, though.  Jerk it!  For some reason, the photobucket editor won't let me apply arrows. The motor mounts on the 4wd sit on the aluminum isolators, flat on top of each one. How handy is that? 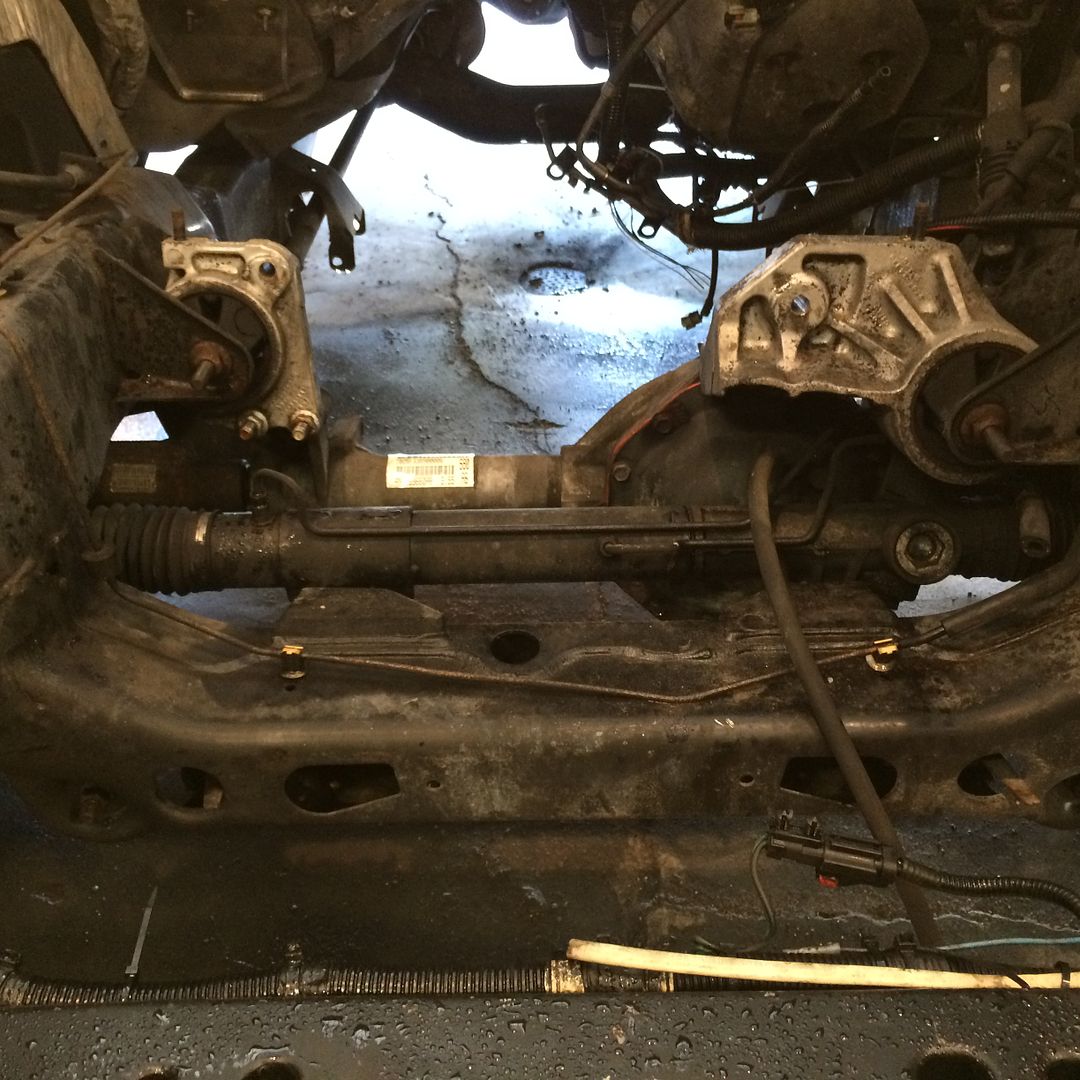 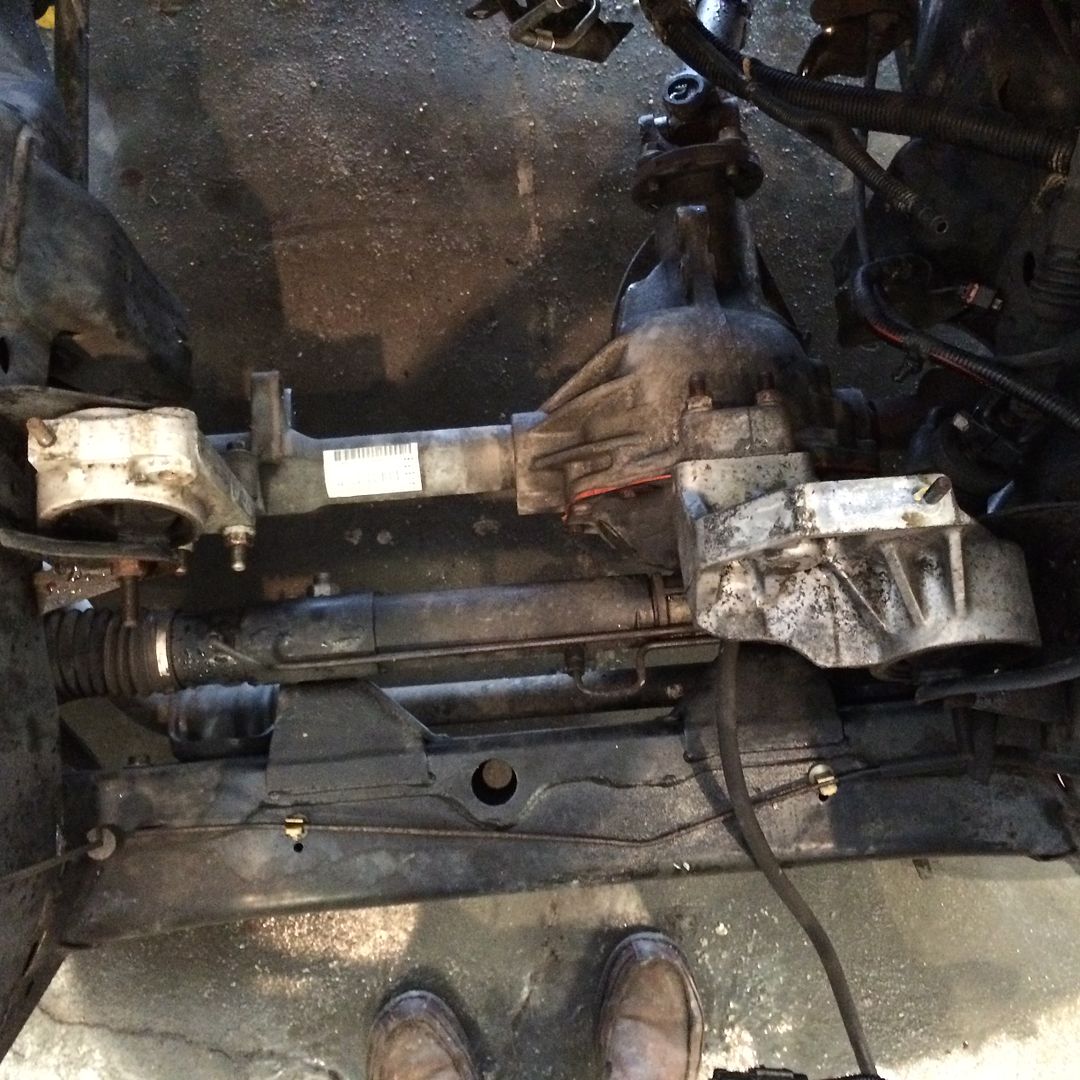 So....after using my adapter plates to locate the motor mounts on my mock-up LS engine 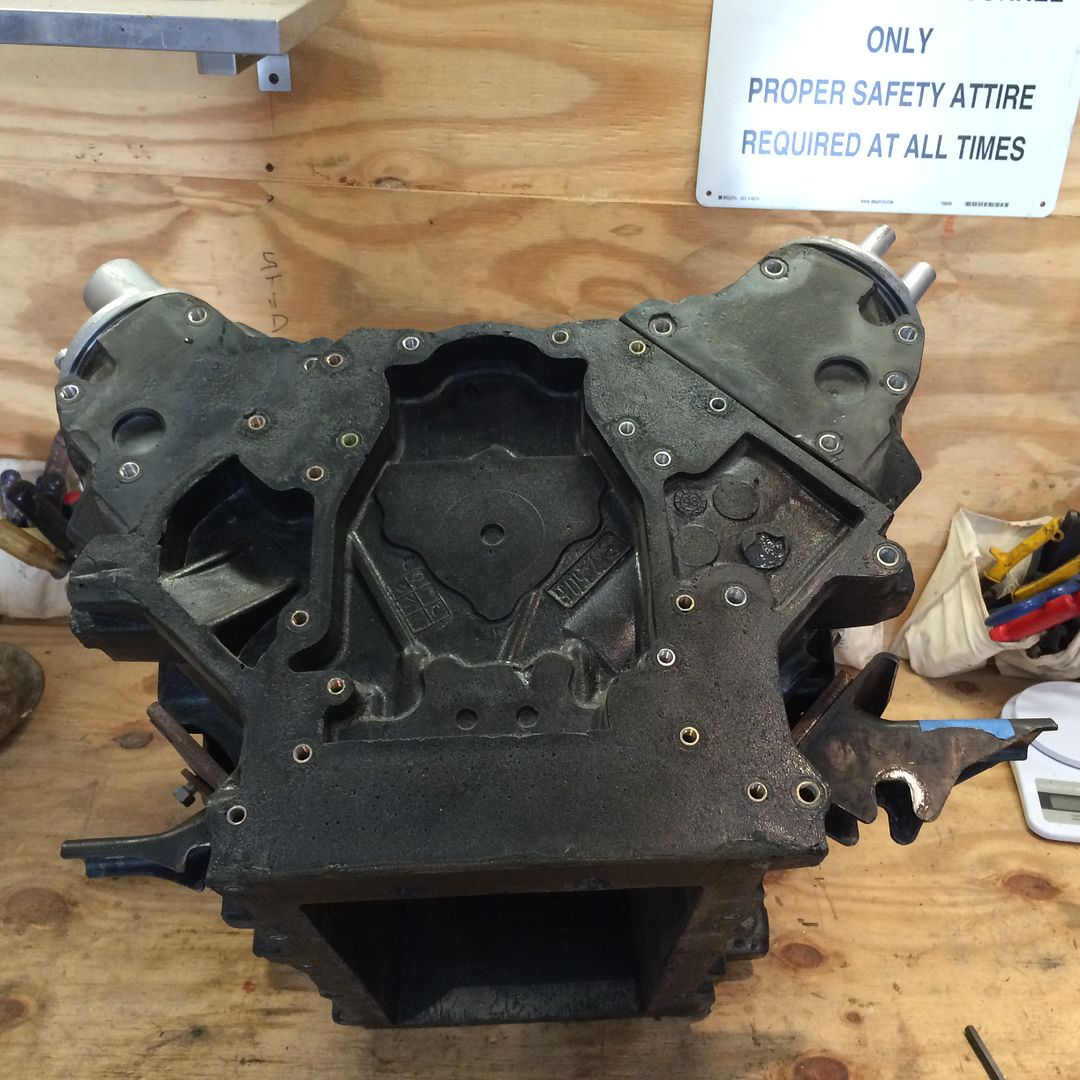   I dropped it in, made a mark, and made one of three modifacations required. 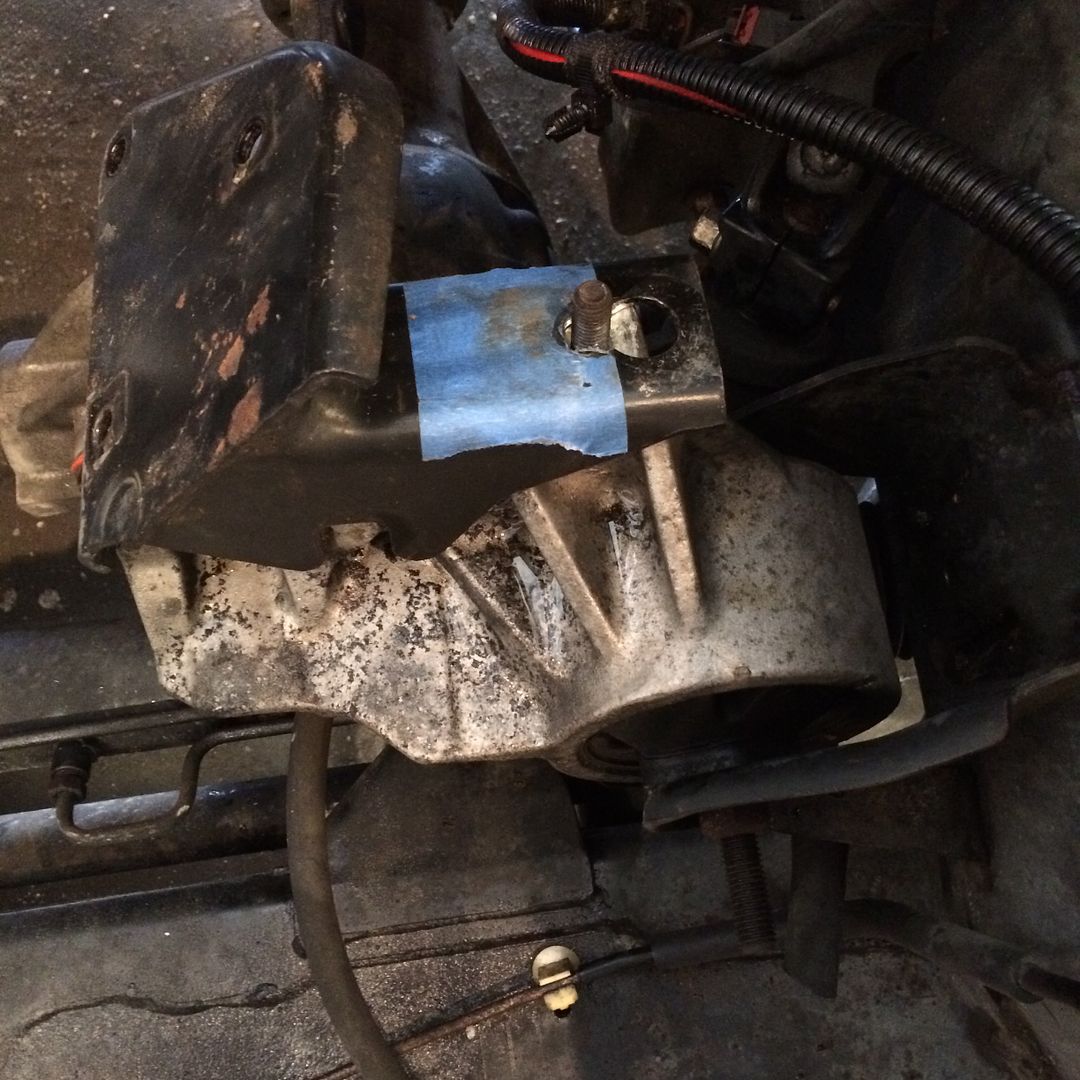 The other two notches will have to be on the large bolt holes on each motor mount. Passenger side 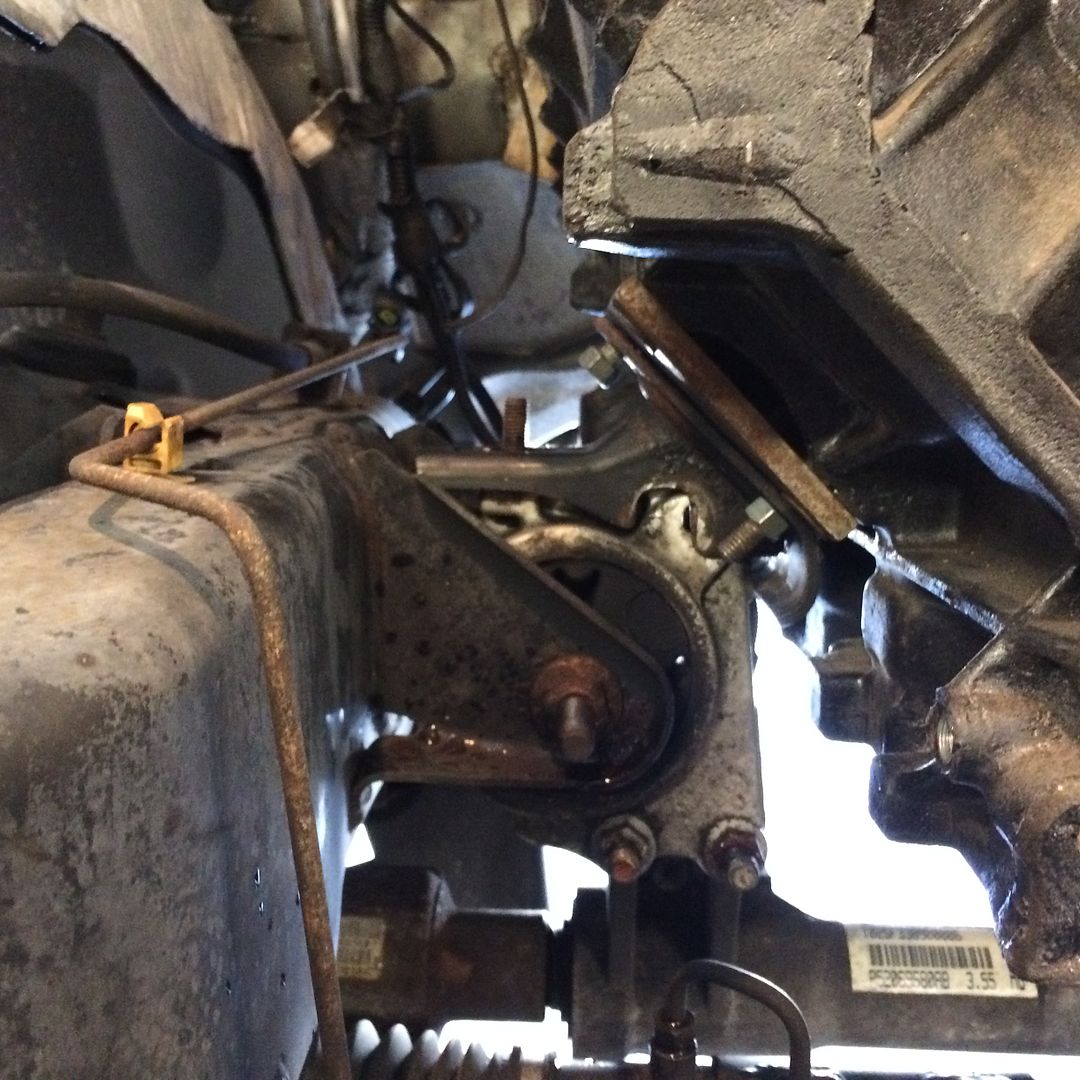 Driver side 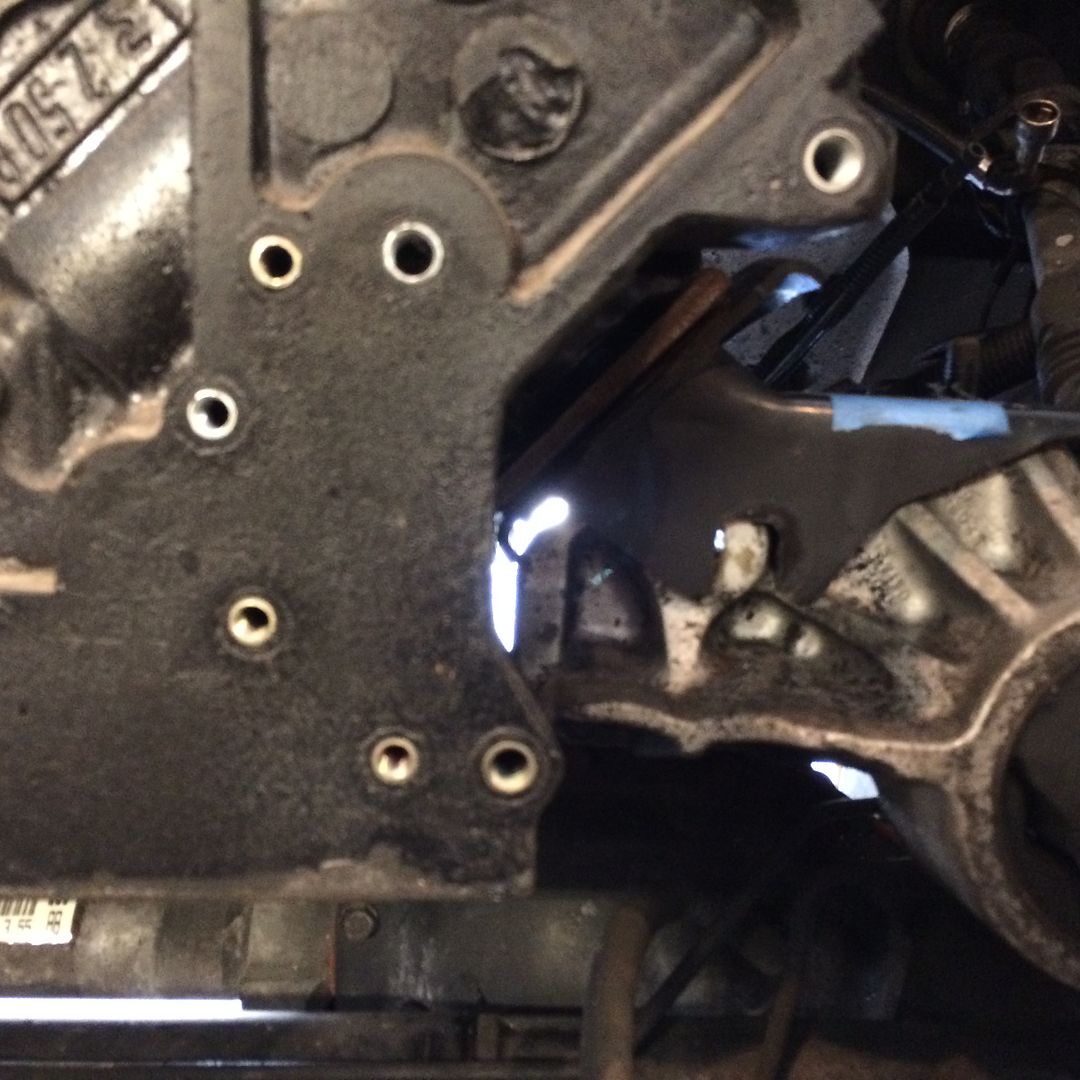 And the results. Tons of room for headers 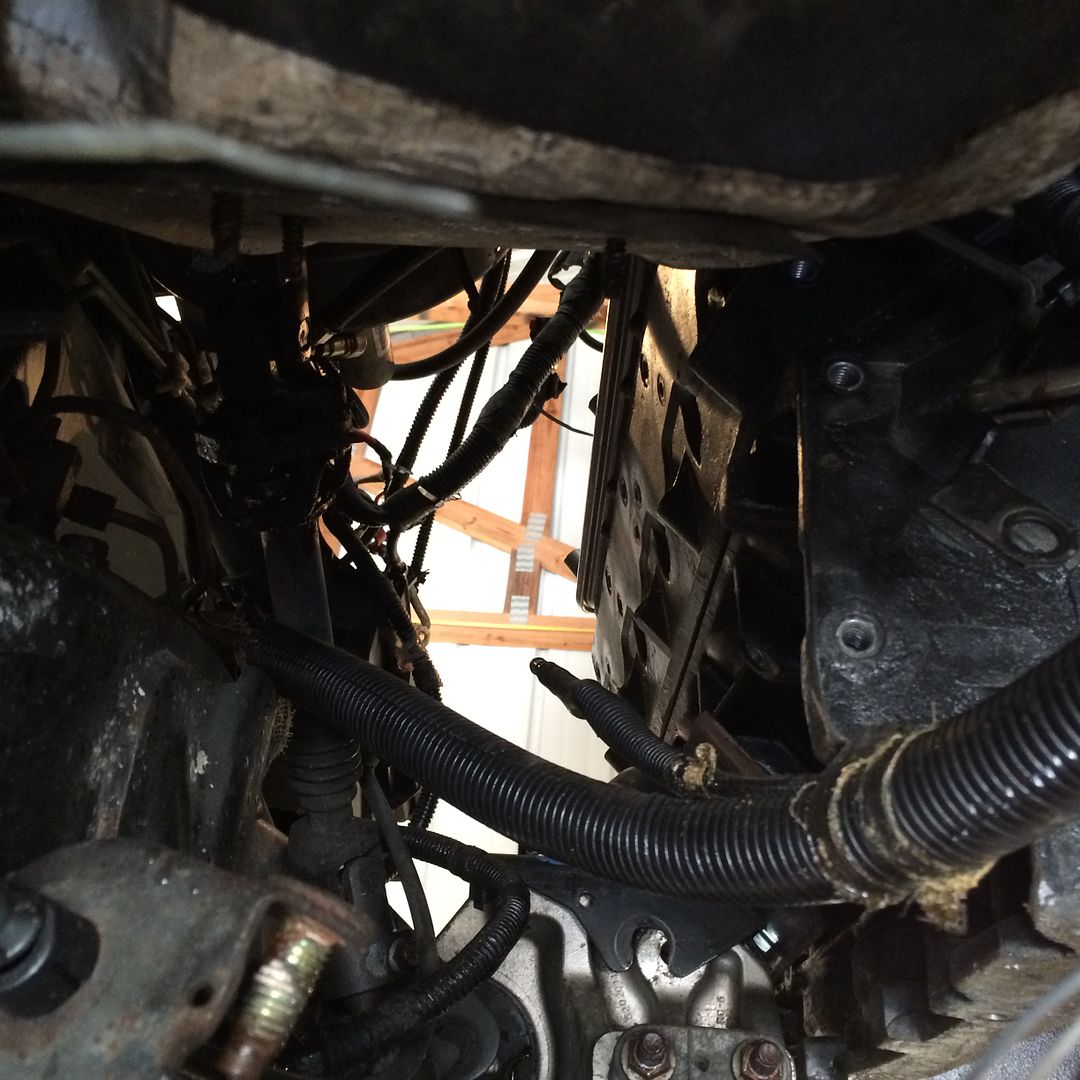 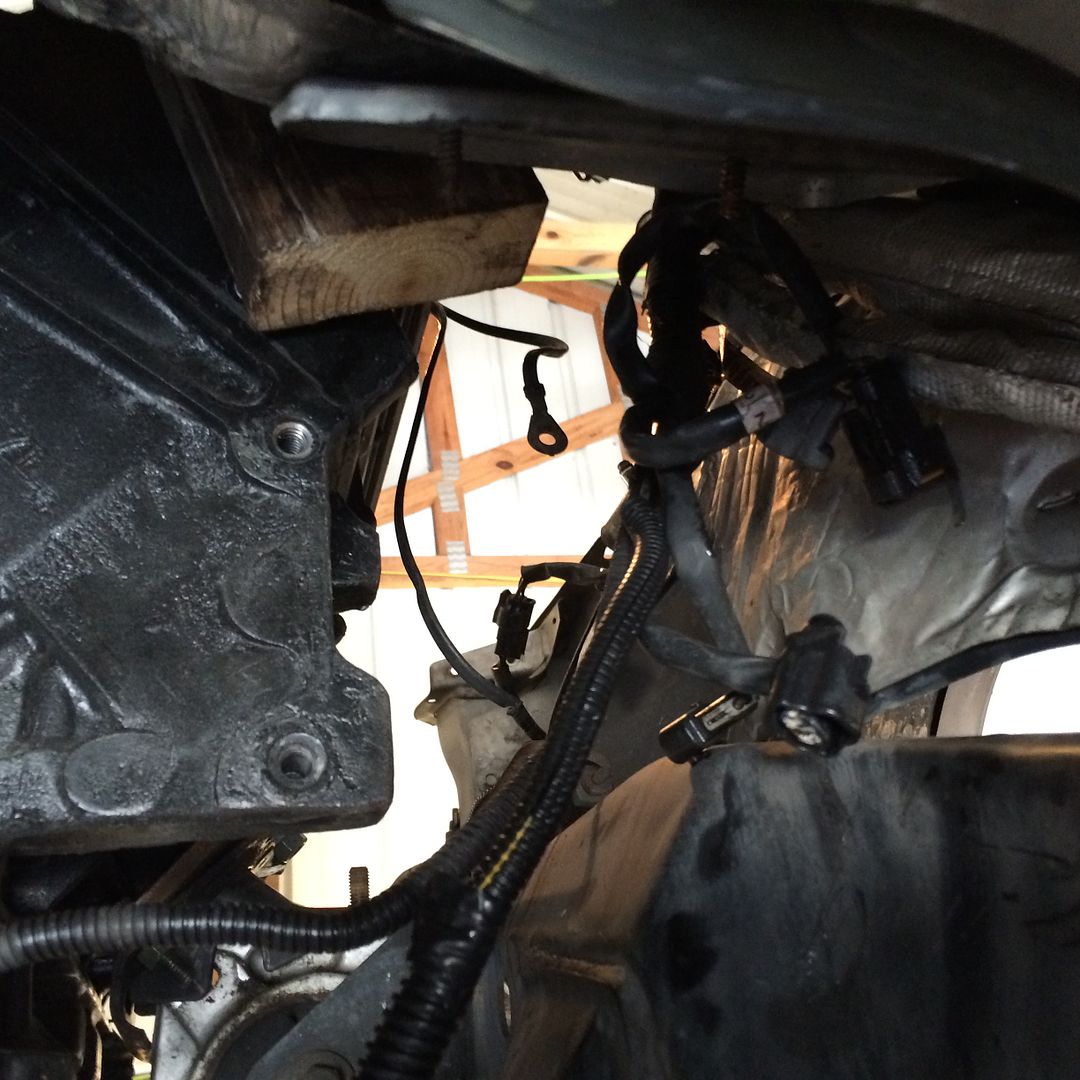 Centered in the tunnel 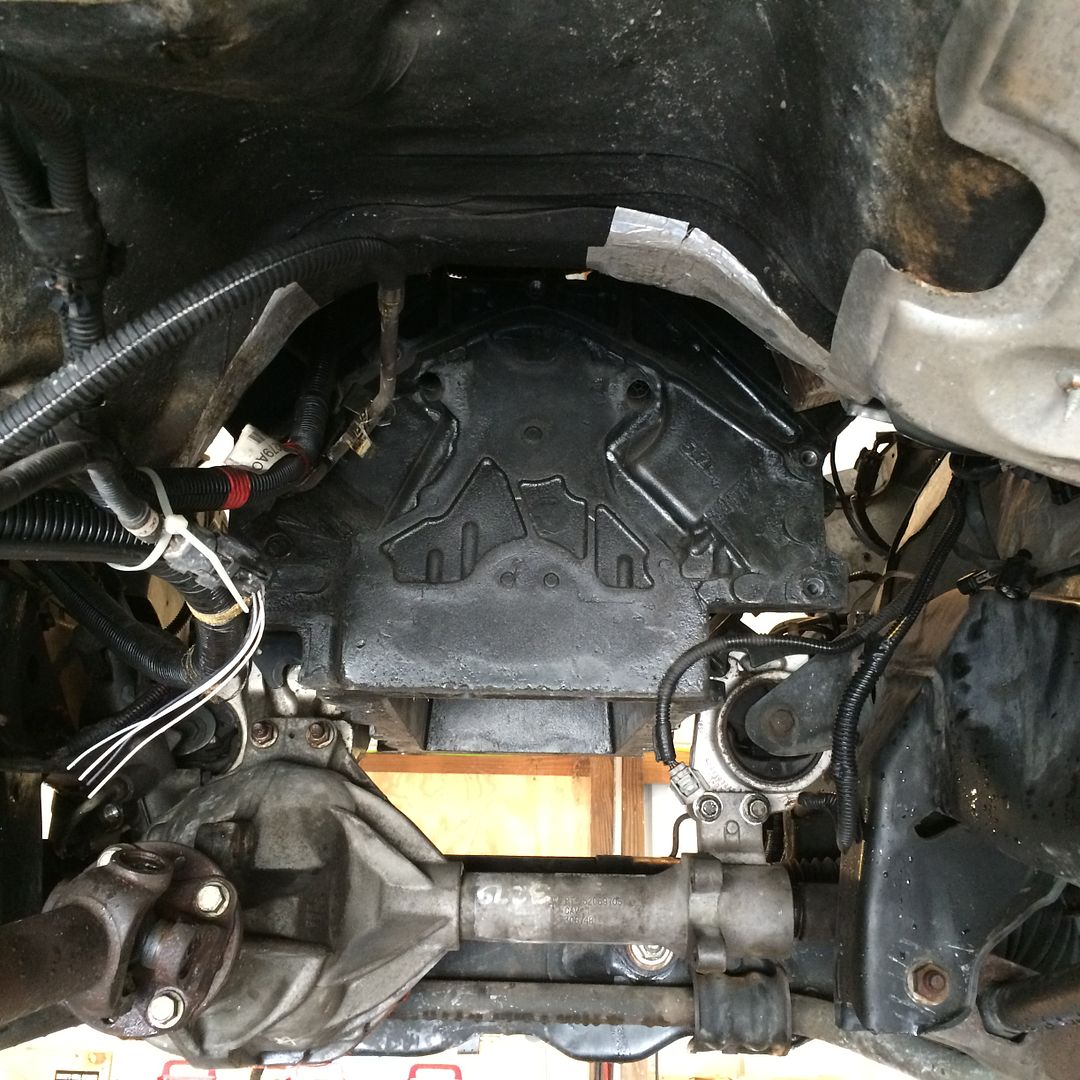 Driveshaft mocked up with pvc pipe. Good angles. 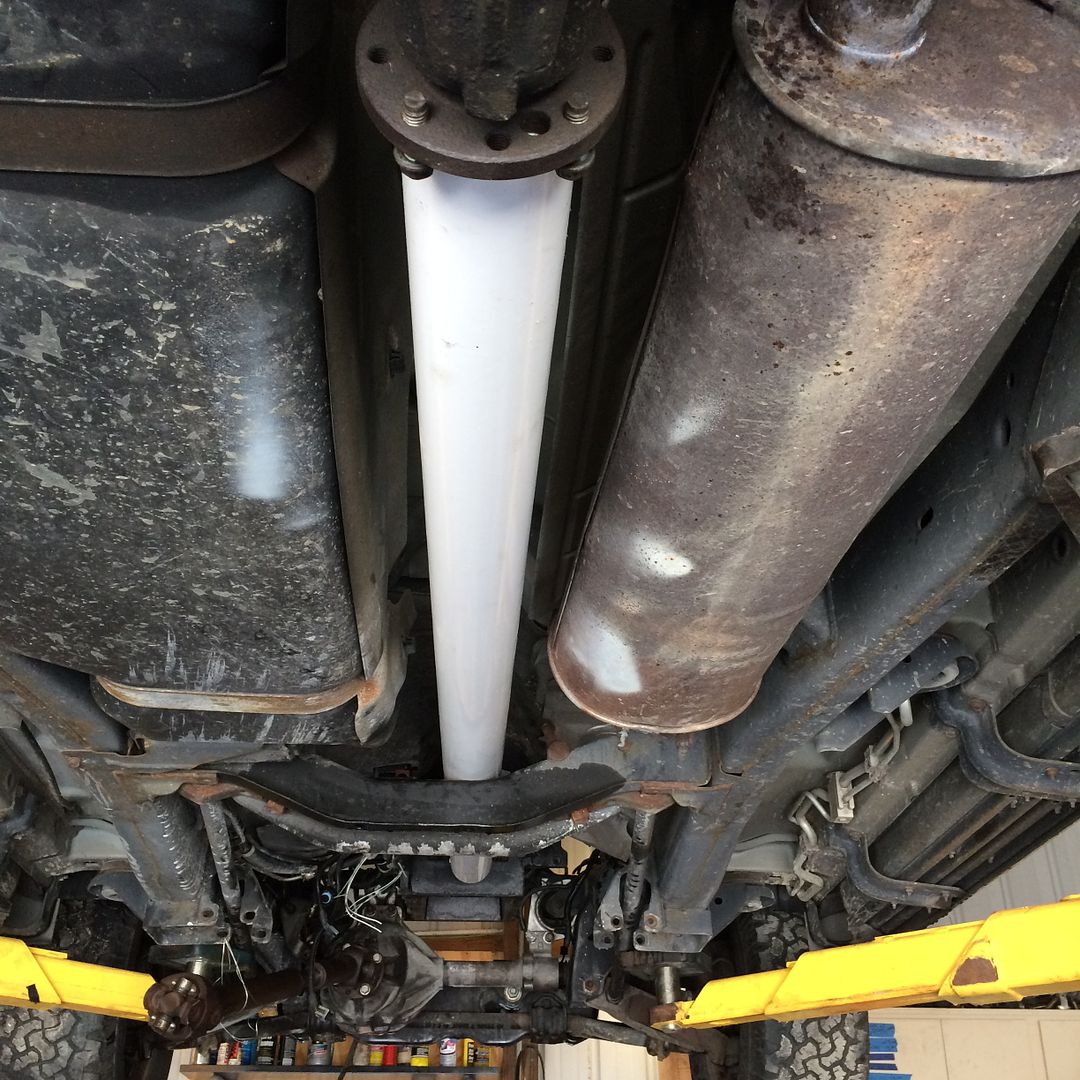 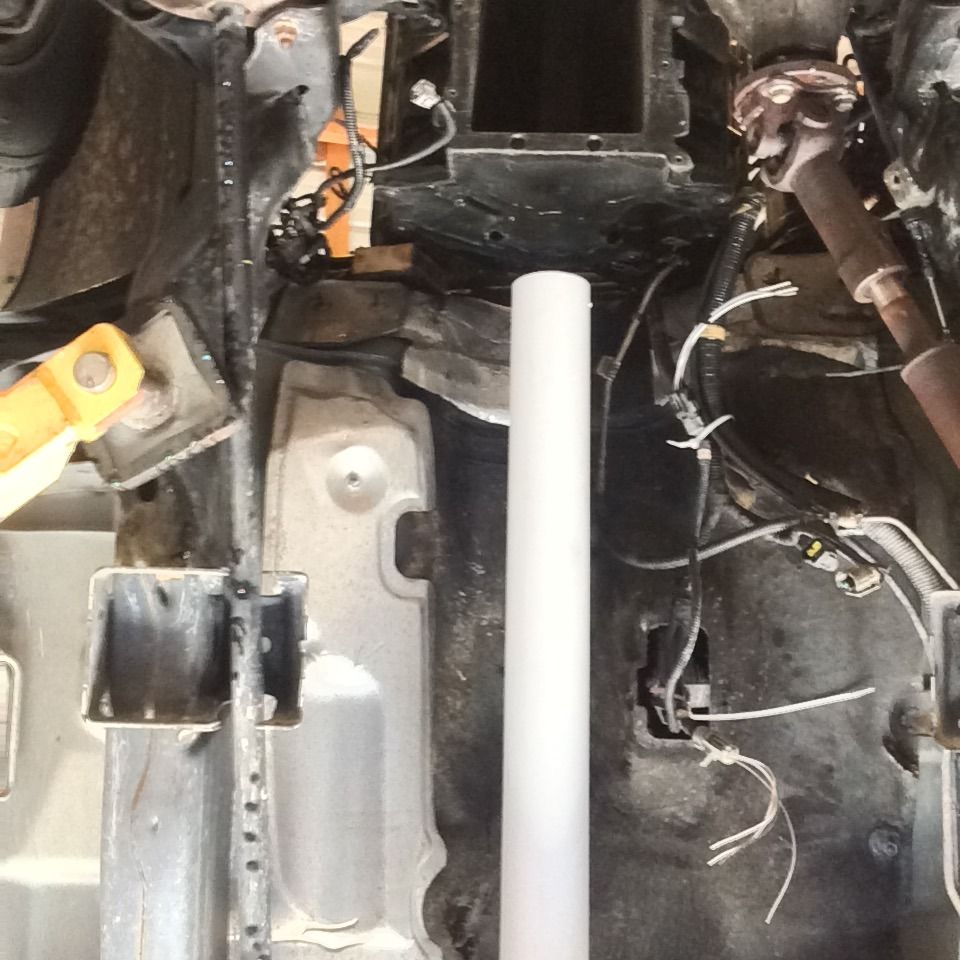 And plenty of room for an oil pan. 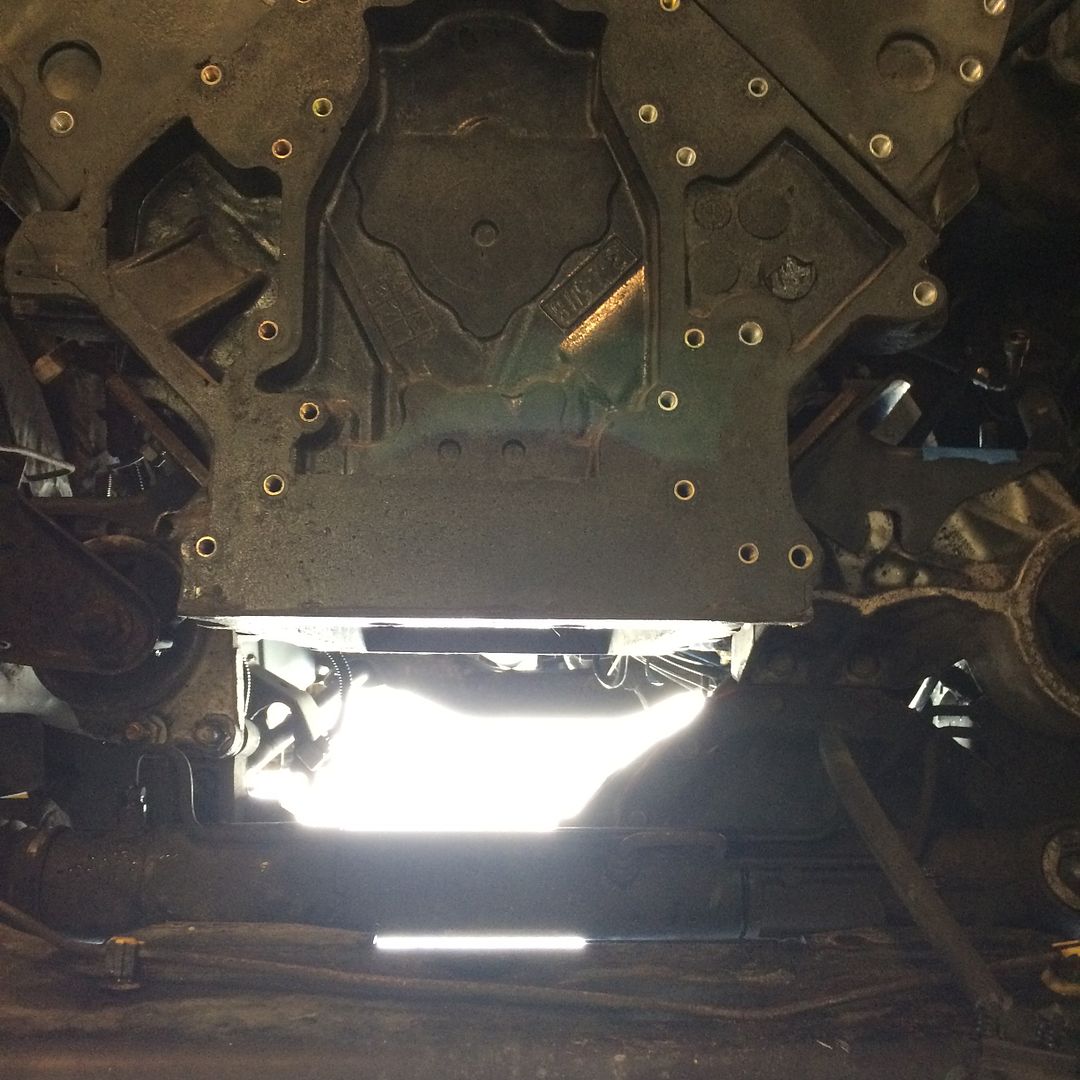 I will post much better pictures when I can. But I wanted to make this clear. I think this will be even easier than 2wd, with much more room all the way around. Now I am shopping for a suitable drivetrain. |
|
|
|
Post by casias on Sept 27, 2015 10:39:49 GMT -5
So, continuing on with the build in real time. When I did the Dakota R/T build, I had more full days off, and didn't really concentrate on some of the details. This time, I am going to post projects as they happen. I probably won't make videos this time, because they take too much time, and don't look the way I would like. Fuel system - one hour The Durango has the vent and fill lines on the back of the tank, and uses straps, just like the Dakota. Cut the vent and fill lines (they are soft garbage at this point anyway), and soak the nuts on the straps with PB blaster). 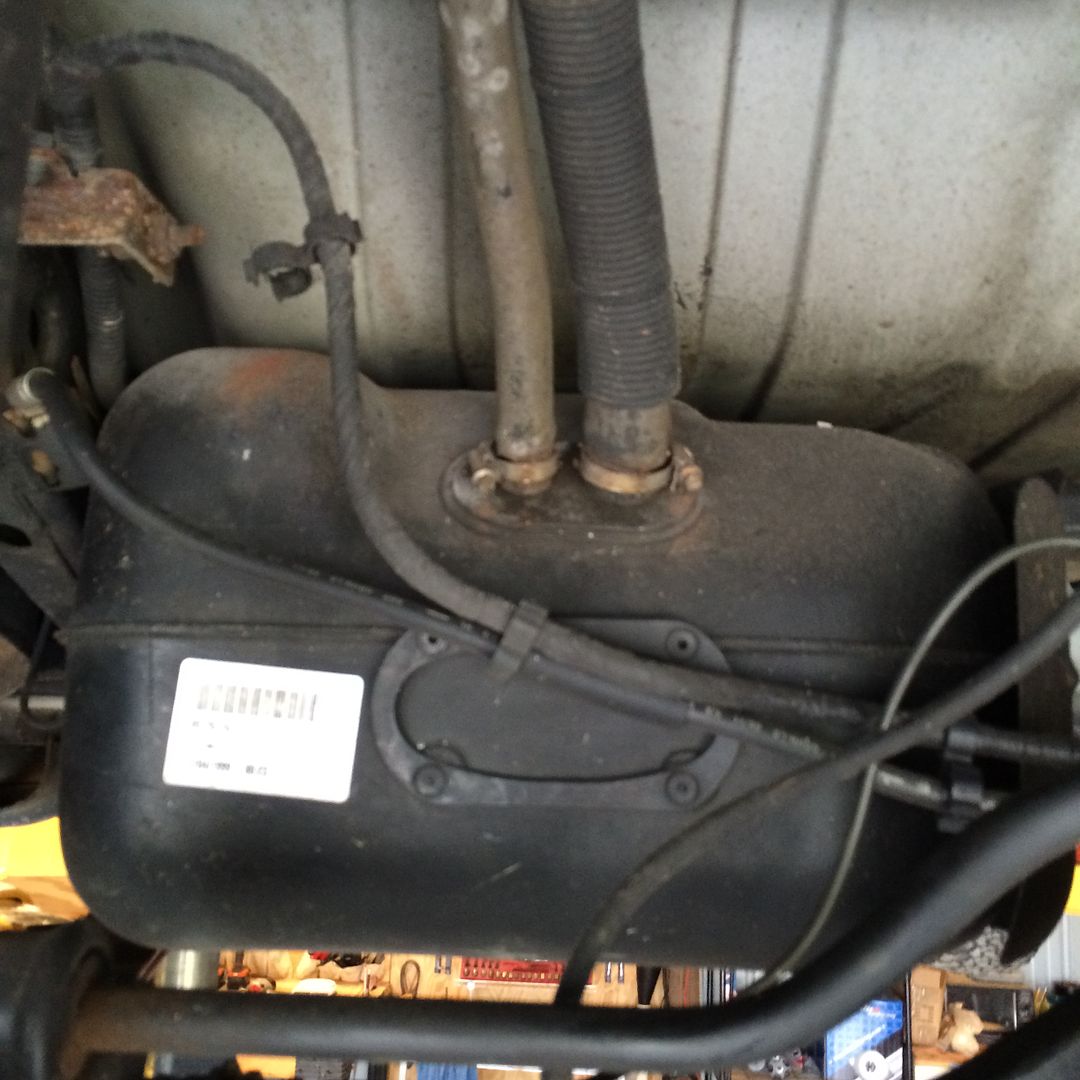 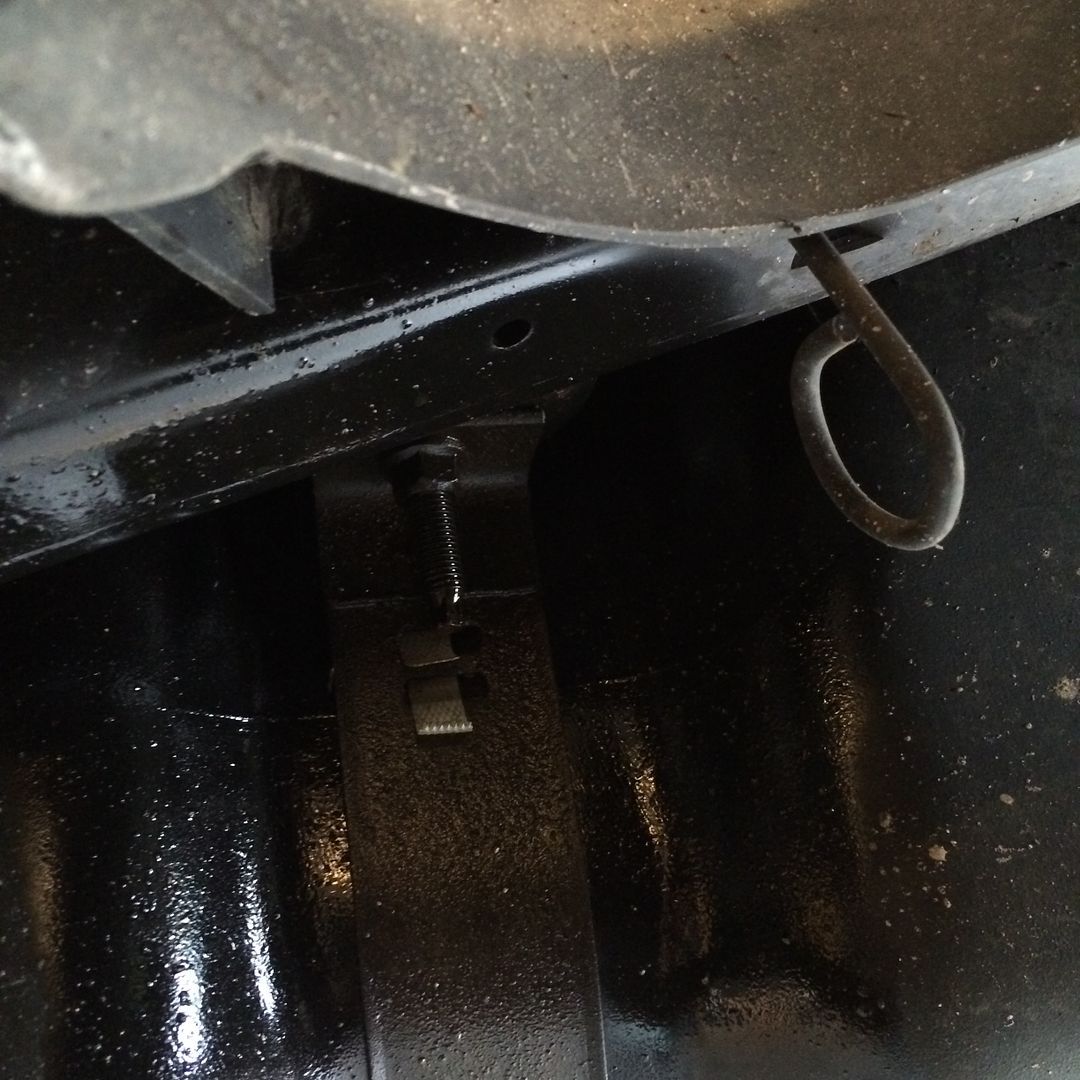 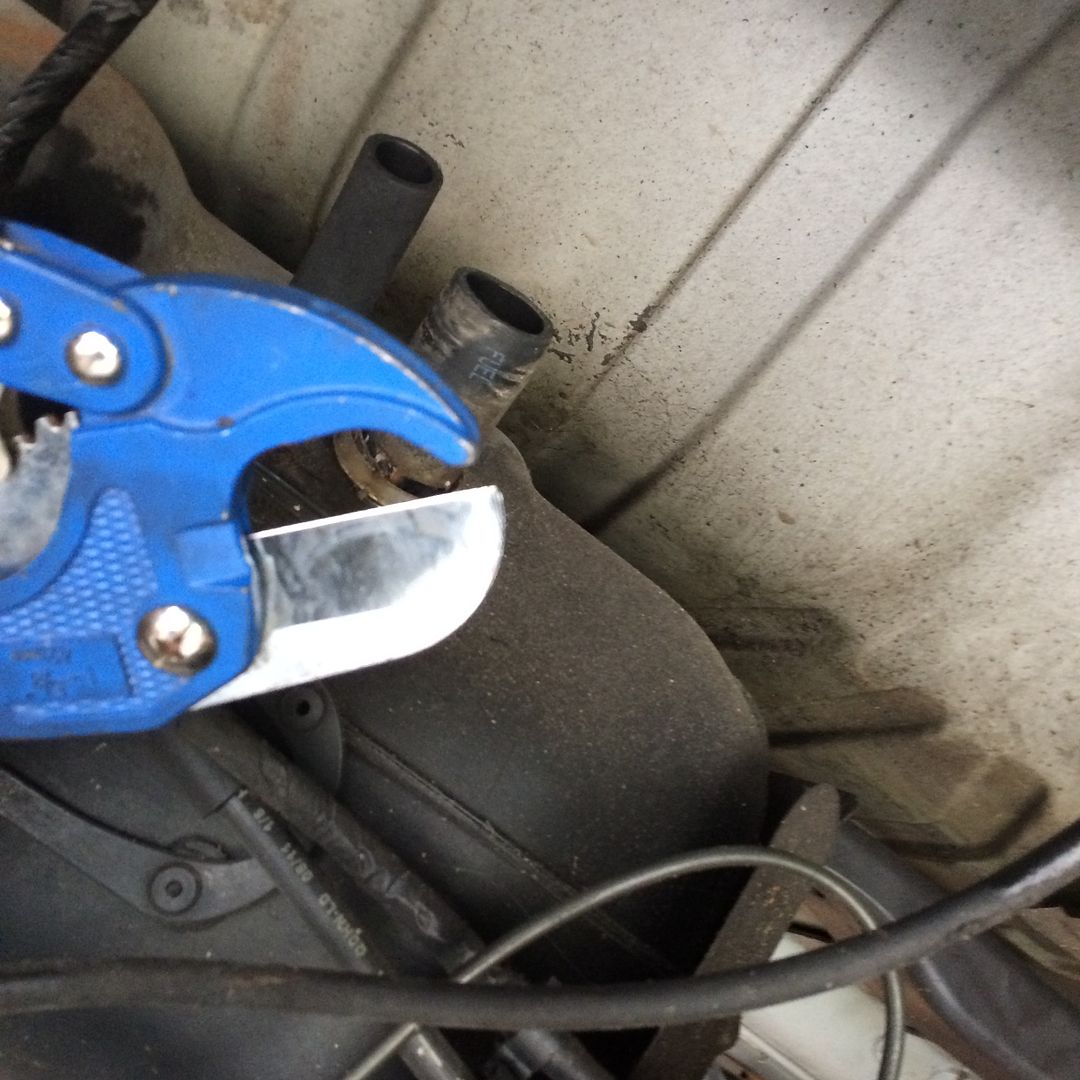 Siphon the tank through the vent line. The fill line has a grid across it to prevent siphoning. If you remember the video for the Dakota R/T, the vent and fill lines are on top of the tank, so I ran the fuel pump to drain the tank. 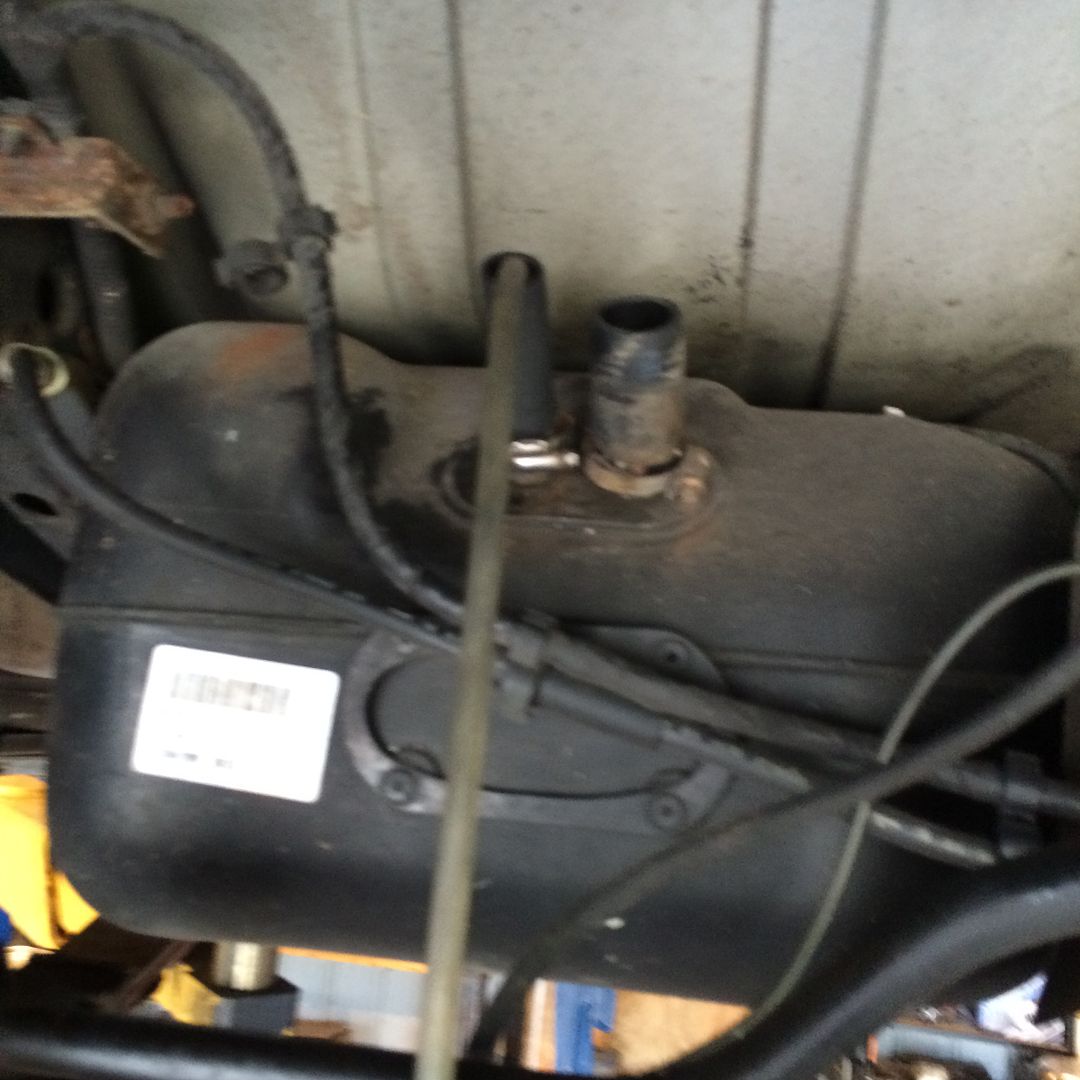 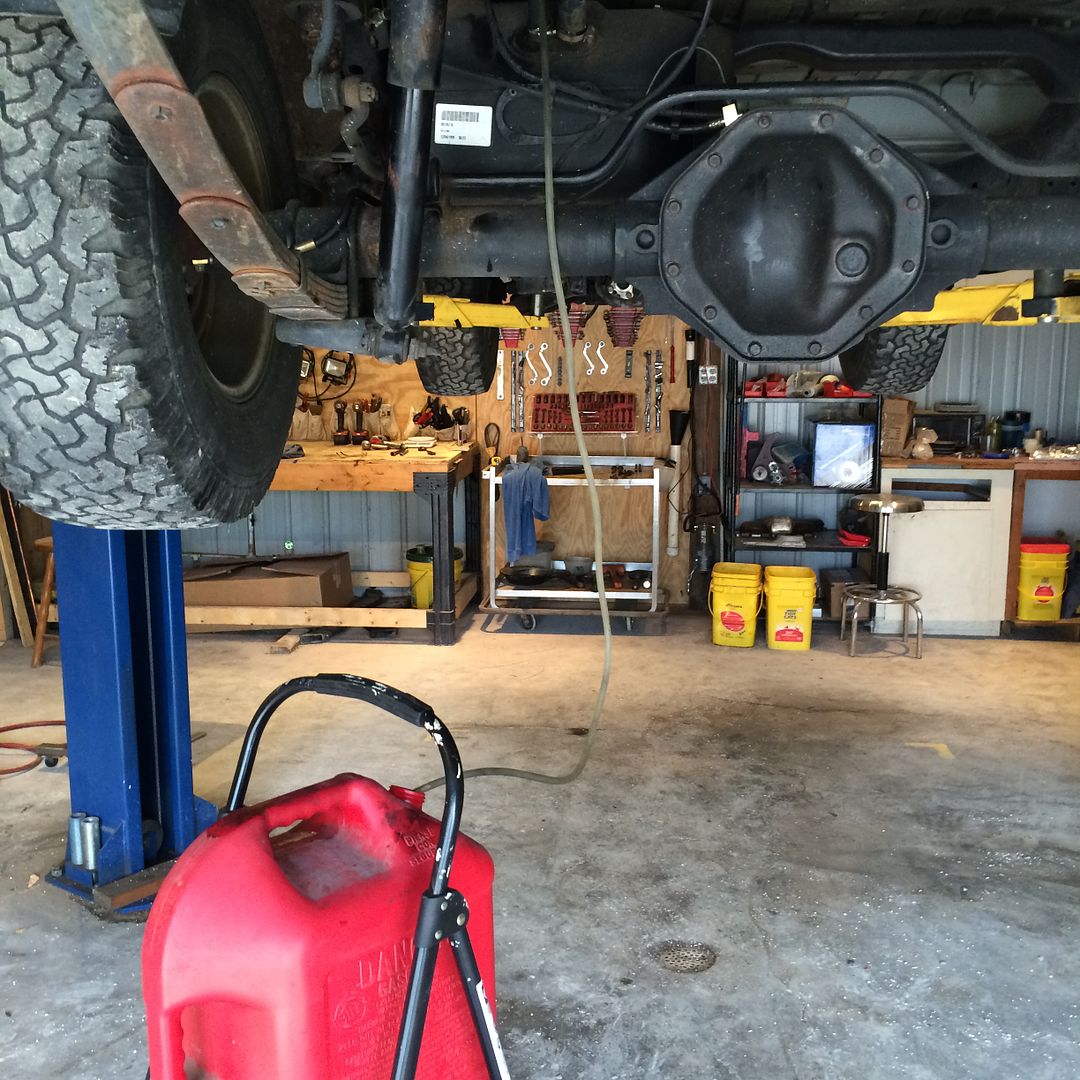 This time, I was able to get the nuts backed out with an impact, without cutting. Either way is fine. 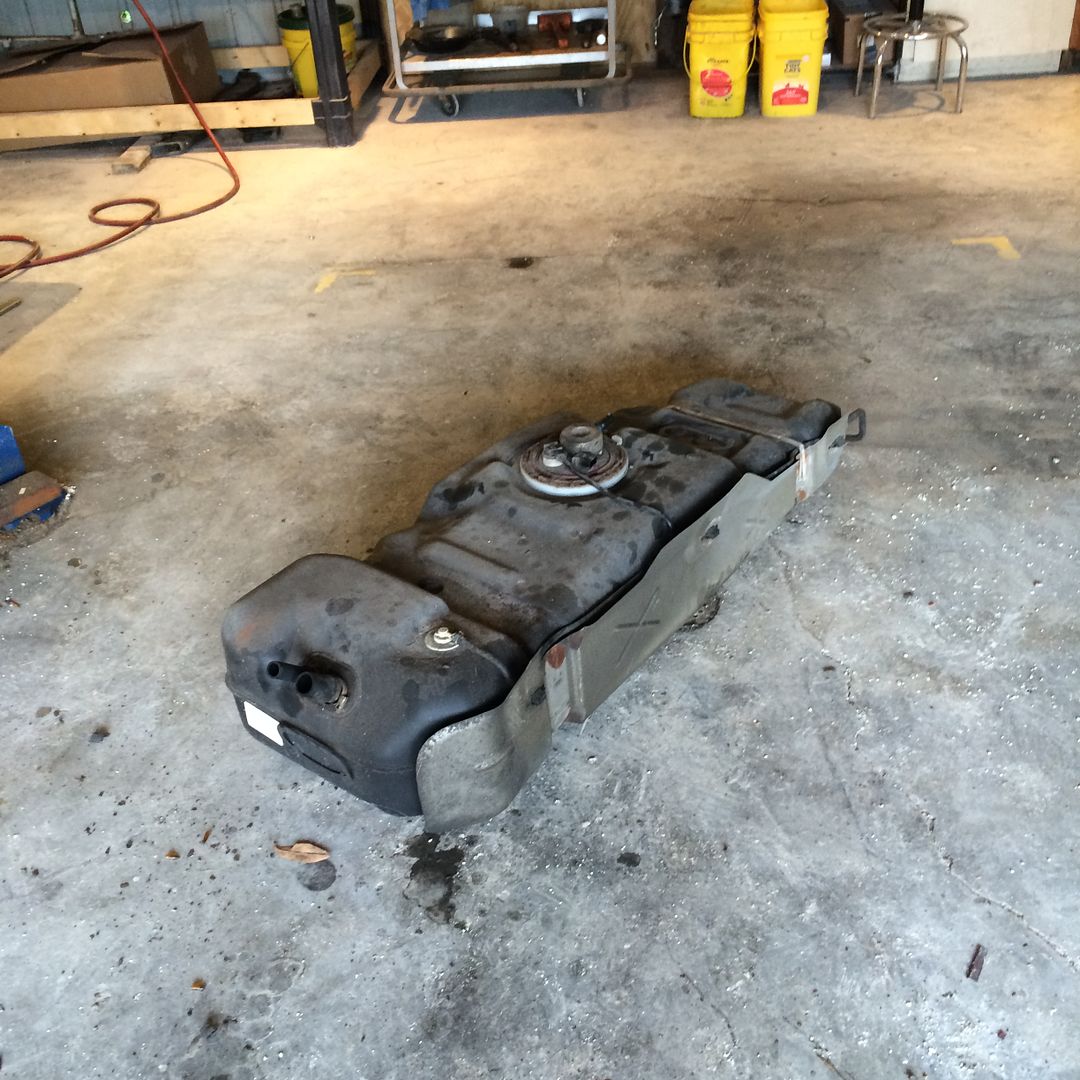 Get that rusted ring off. I am not sure why chrysler uses such junk in places like this. You couldn't give us a stainless ring, aluminum ring, or plastic ring. Assholes! 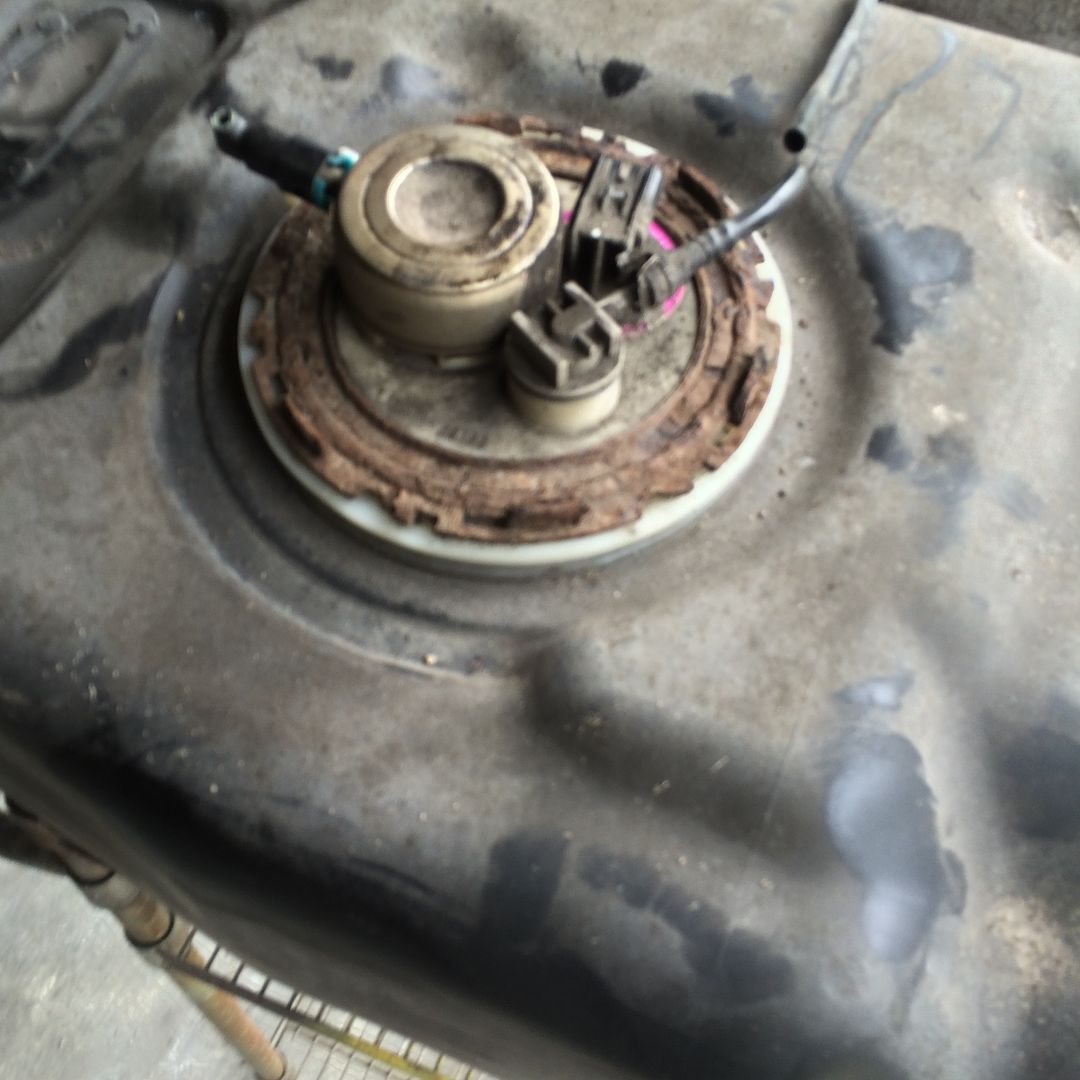 |
|
|
|
Post by casias on Oct 4, 2015 15:37:17 GMT -5
|
|
|
|
Post by casias on Oct 10, 2015 18:35:43 GMT -5
So, moving on with the fuel system. I purchased this aeromotive 13129 fuel pressure regulator, not realizing that the AN-6 openings are for ORB (O-ring boss), or what is called AN port fittings. These are exactly the same as a male flared AN fitting, without the flare. The AN to ORB fittings are about $10-12 each. Ouch. And I don't want to wait to order them. So, how do I make my own? Should look like this:  I have this: 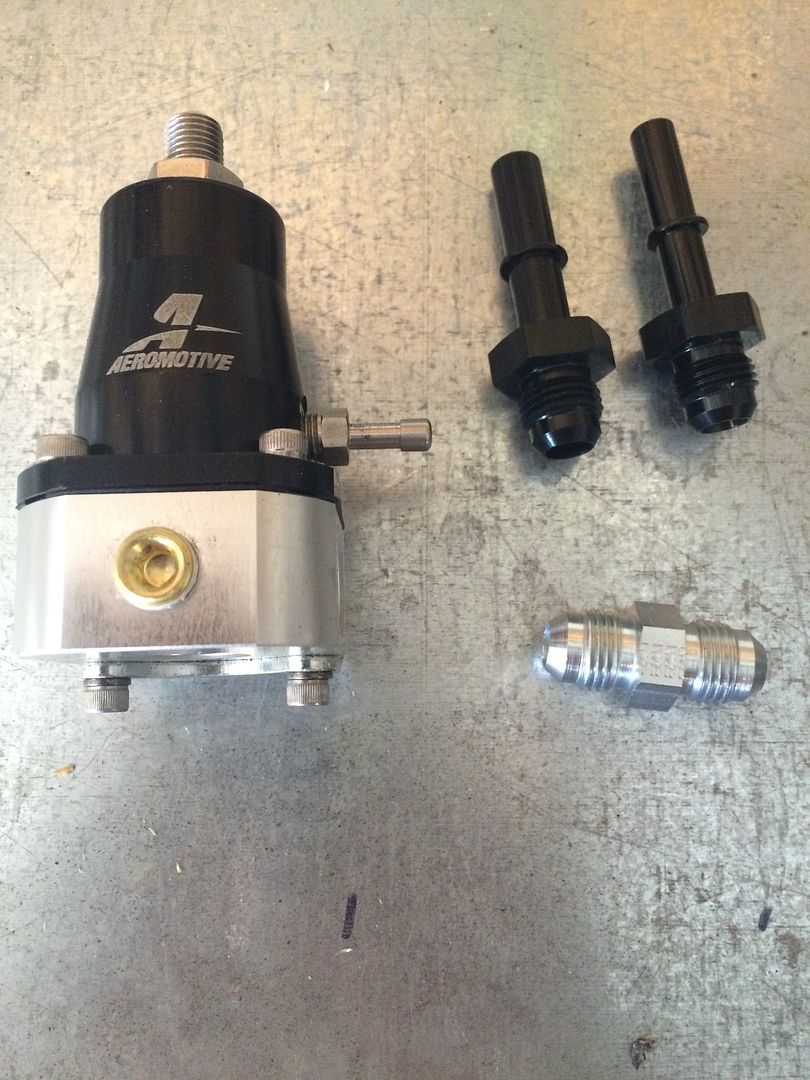 The flared portion bottoms out without sealing the o-ring on the Aeromotive regulator. Other regulators (I think Fuel Labs or Holley), are deep enough to use AN male fittings in them. Not the Aeromotive. So.....Cut the flare off. 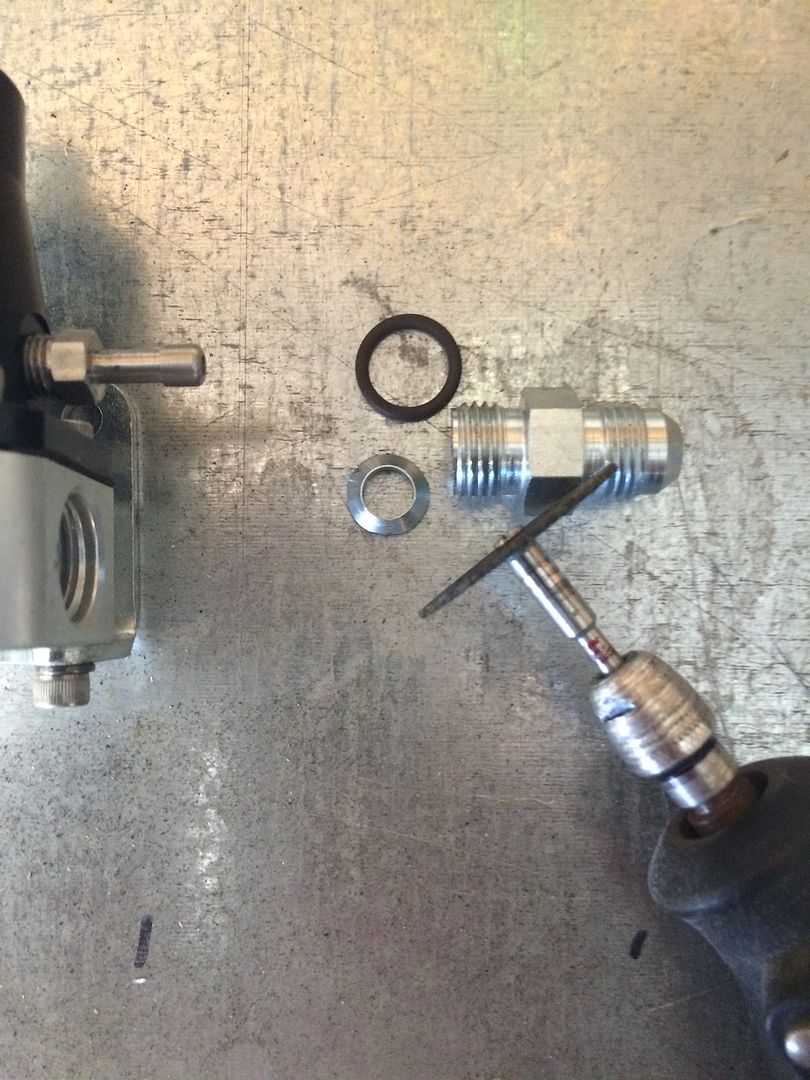 Add an O-ring 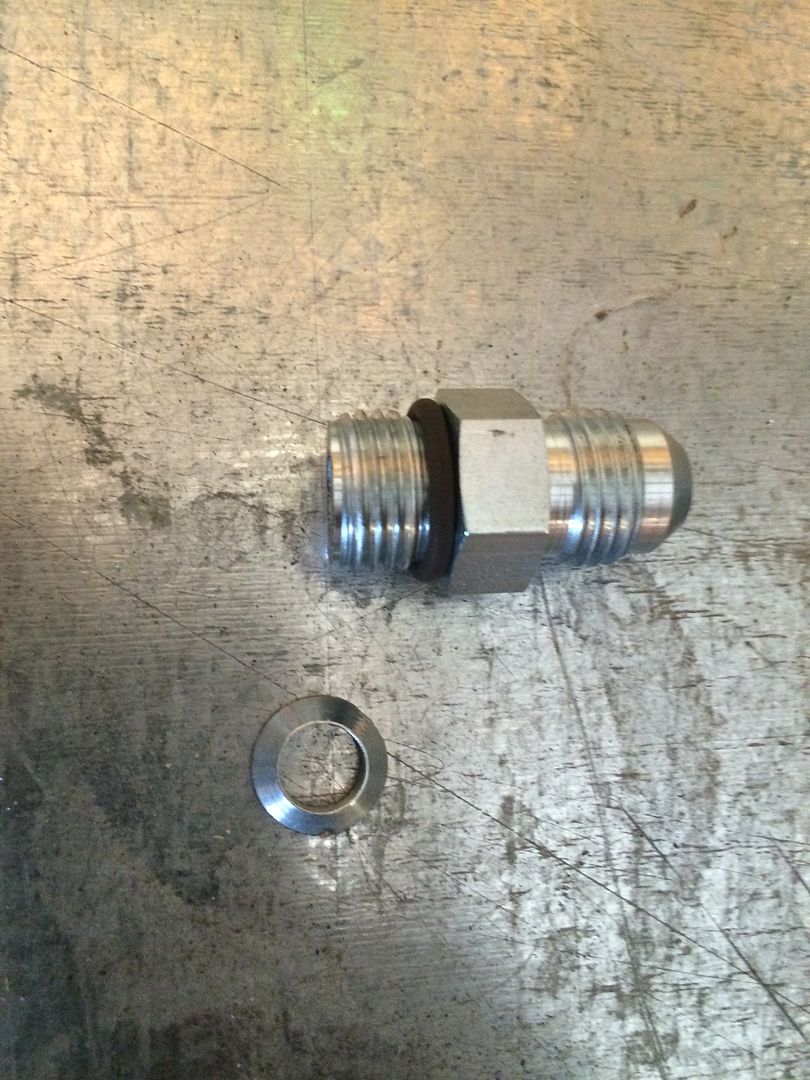 The quick disconnect fitting I am going to use don't come AN port to quick-disconnect at all, and AN female to quick disconnect are expensive, and bulky. So cut those also. These are Boostec fittings. 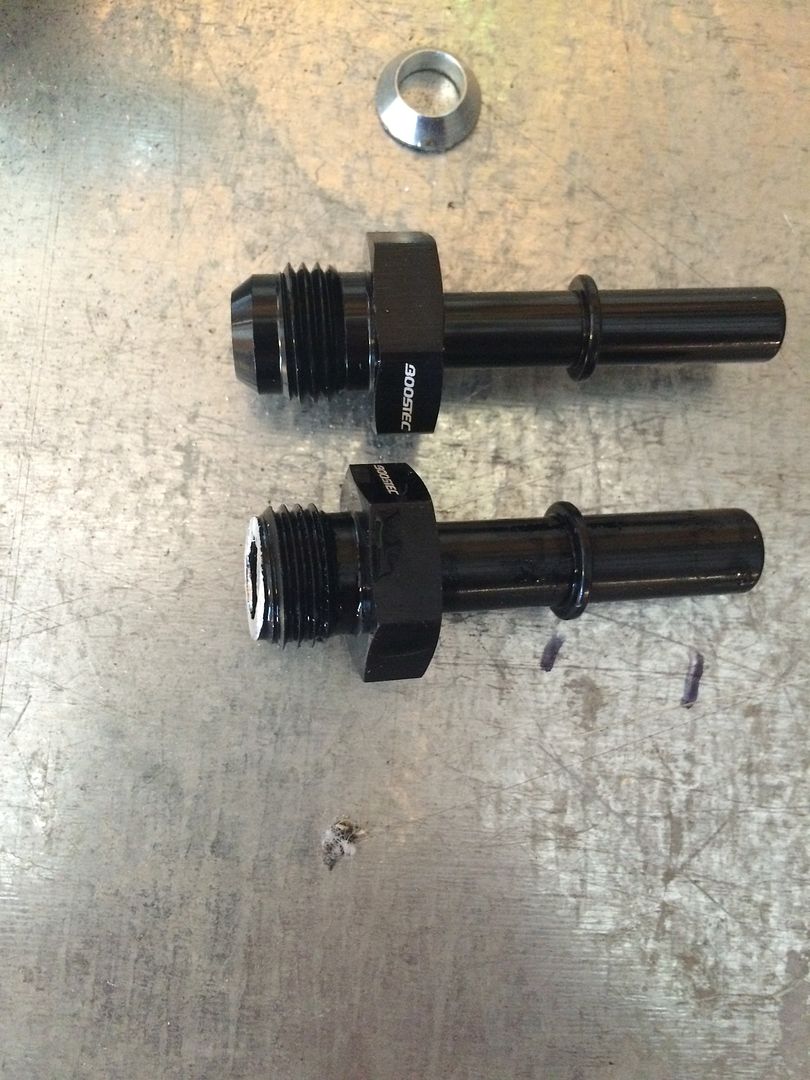 Nice and tidy. 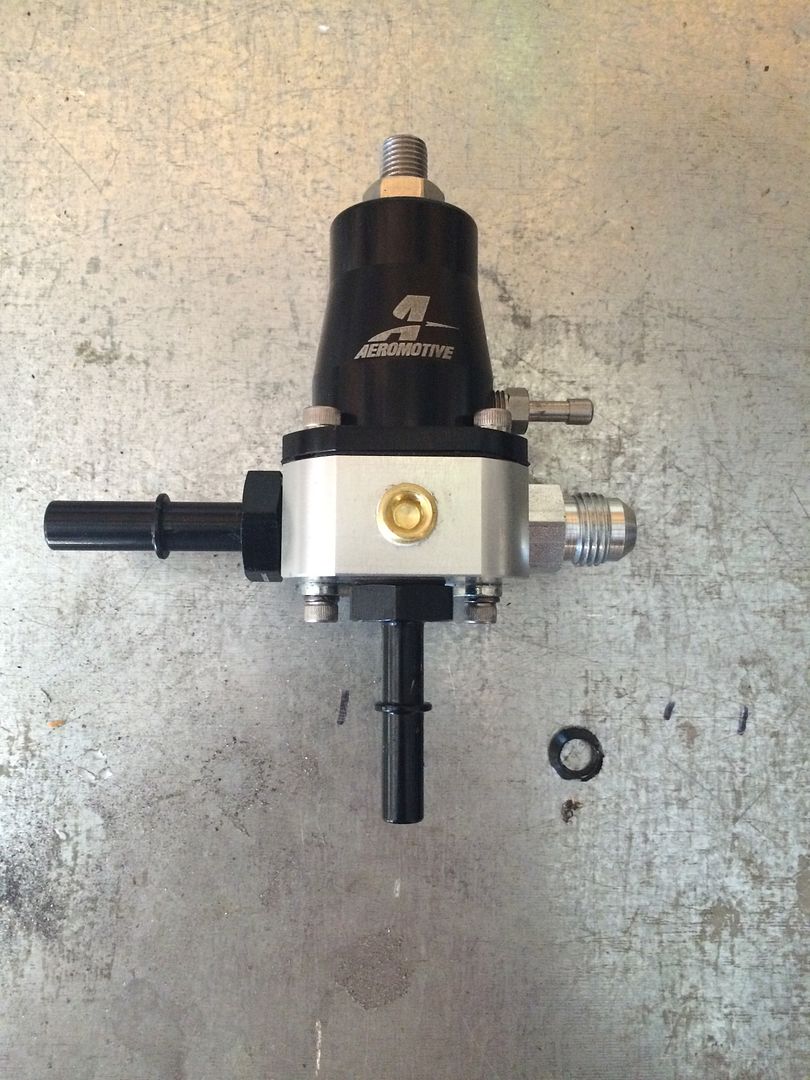 |
|
|
|
Post by casias on Oct 18, 2015 18:12:50 GMT -5
Moving on with the fuel system, I terminated the hard line into a flexible braided stainless line. I used the original 5/16 hard fuel line and flexible fuel line for the return from the adjustable fuel pressure regulator. A few bends on the original line, and it looks just like it came from the factory. 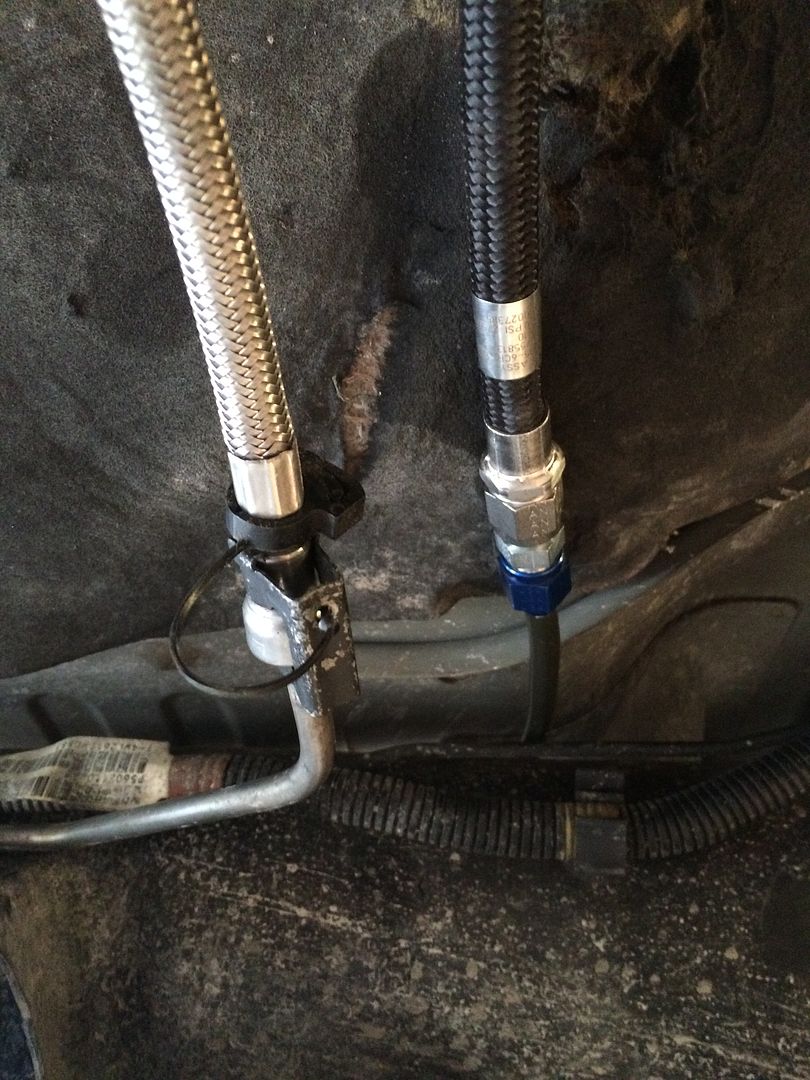 Next, I found an old Ikea curtain bracket, and cut one end off. I found a piece of a table leg left over from a worktable I shortened, and cut this also. 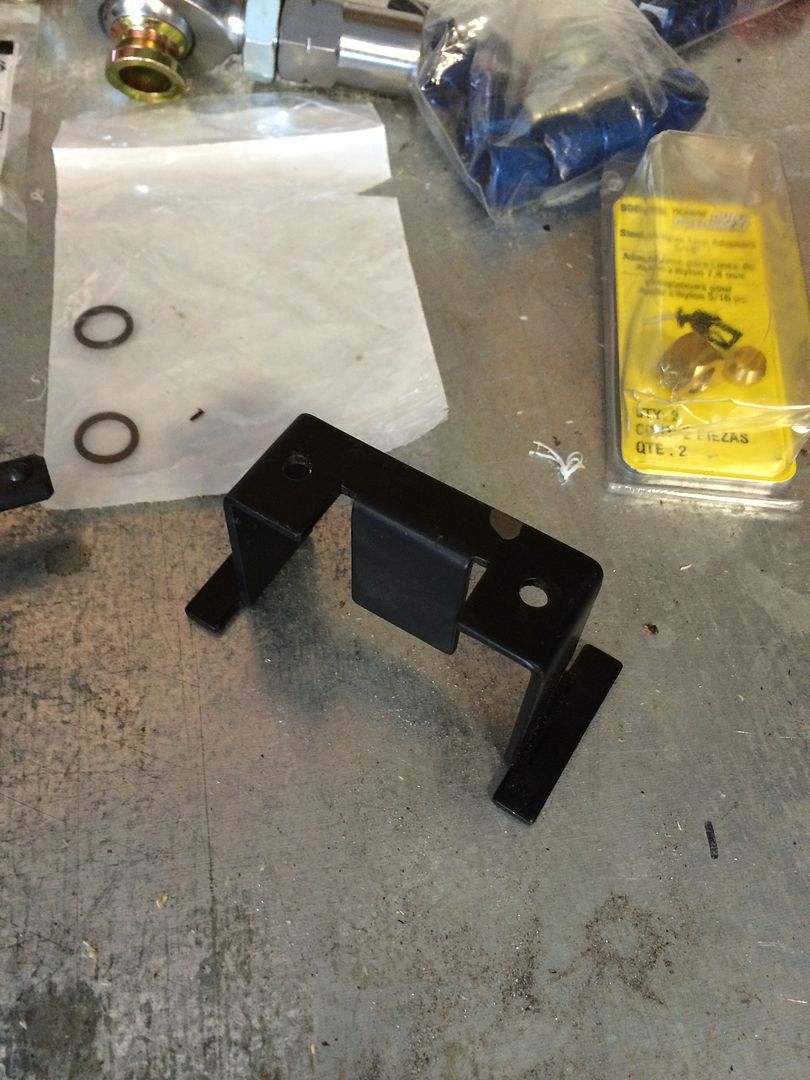 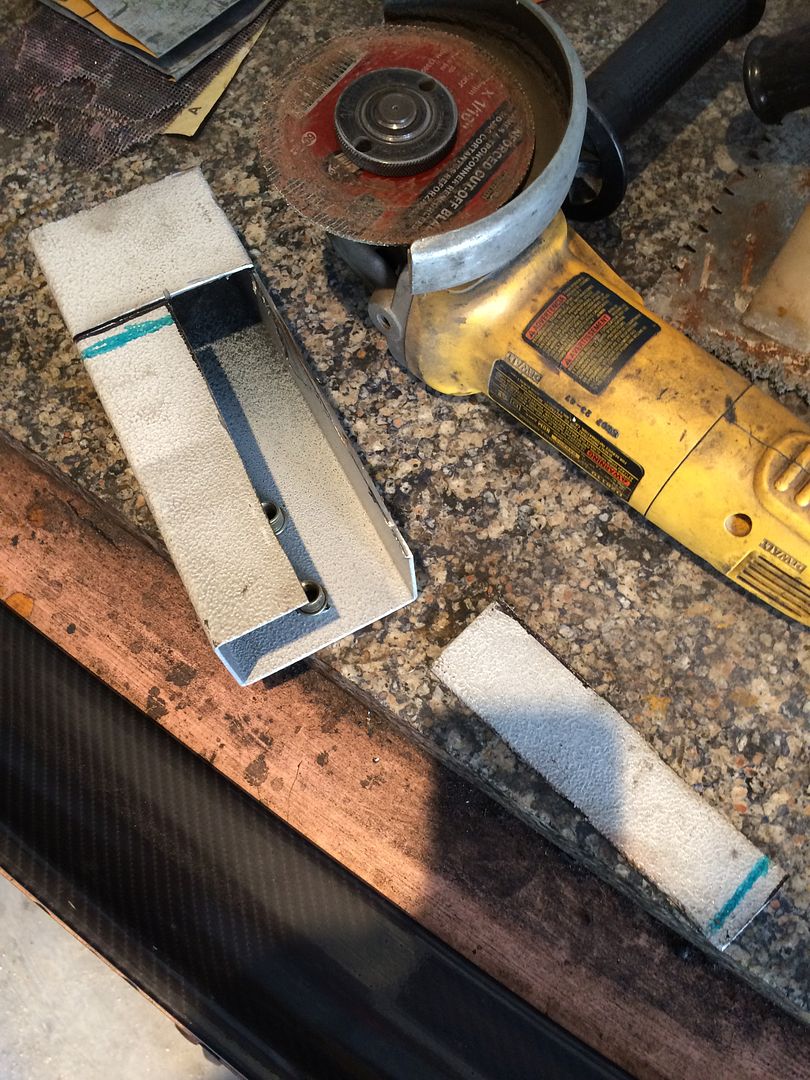 Adding a few dimples with a socket in the shop press makes the flat steel plate a little more rigid. 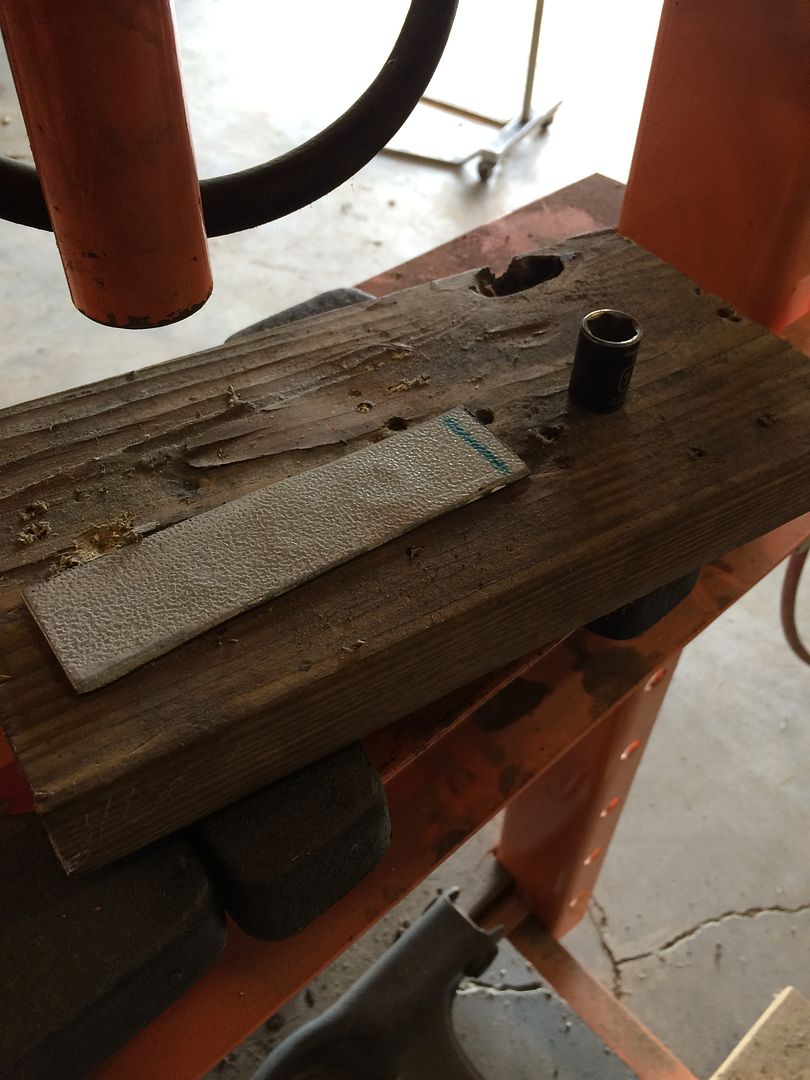 Welded together to make a bracket. 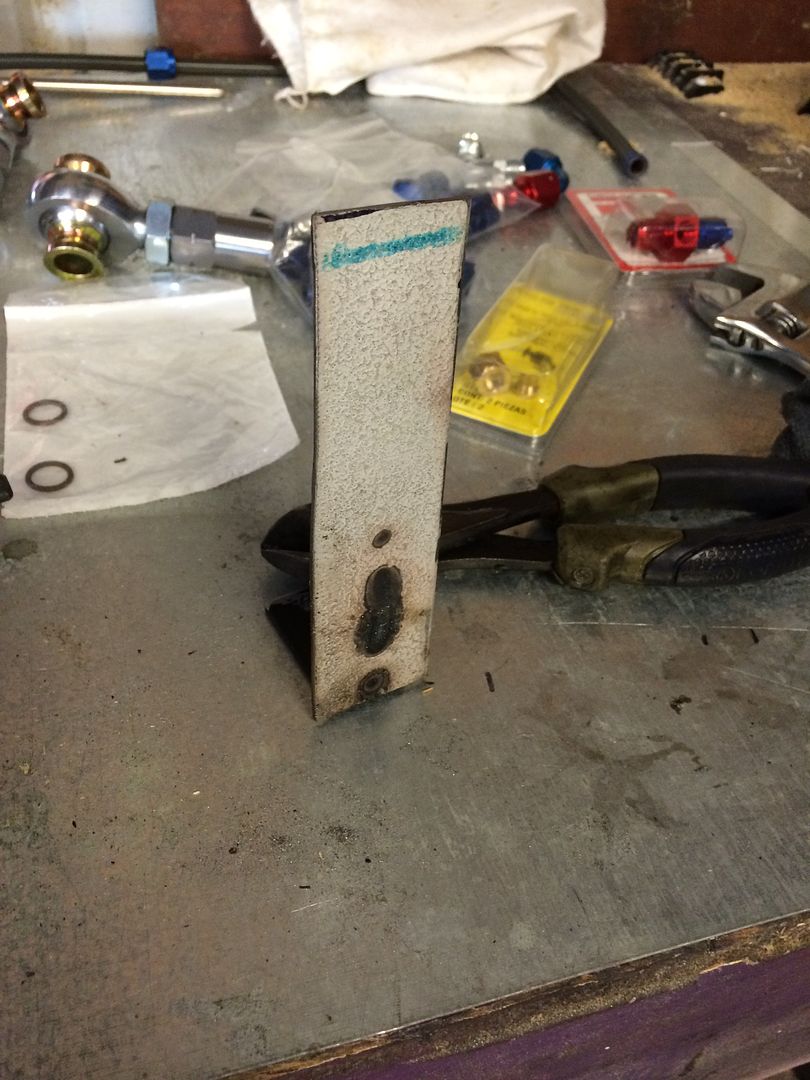 Painted, lines attached, and a couple of cushion clamps to take the tension off. 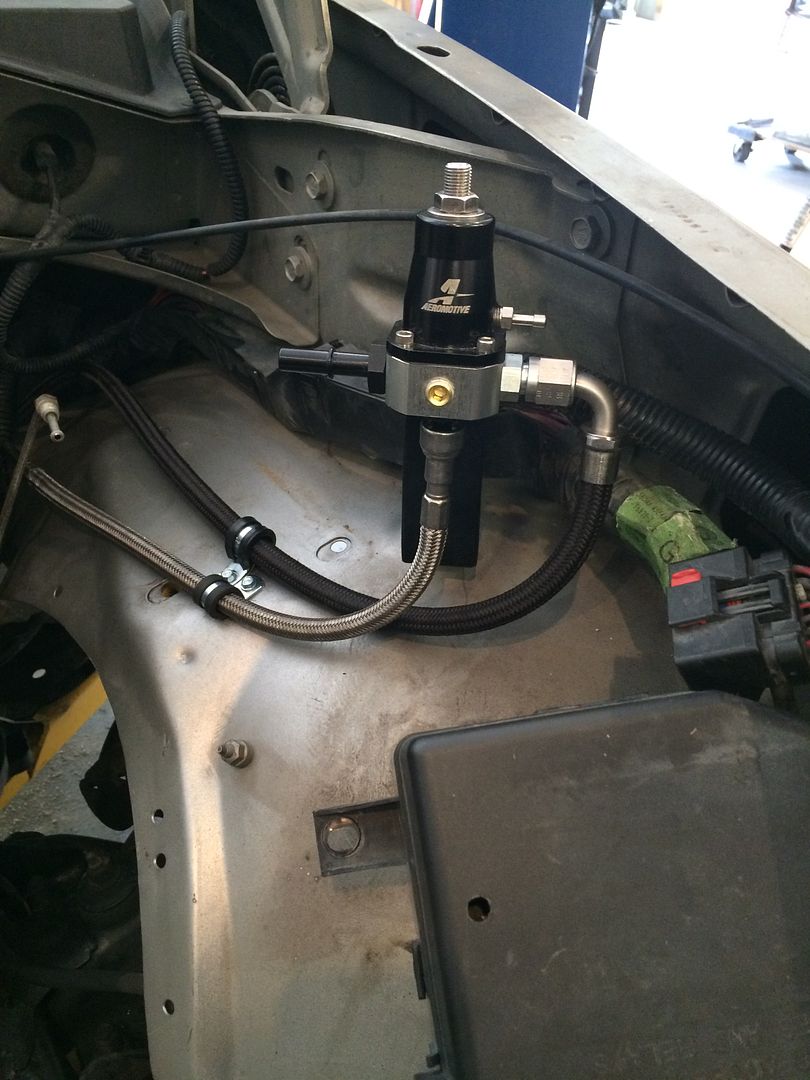 |
|
|
|
Post by casias on Oct 26, 2015 0:23:20 GMT -5
The most recent updates to the build are boring, but important. I replaced all of the brake lines with Poly-armour, and got rid of the ABS, which won't be used anymore. The ABS on these trucks was truly awful. At least twice since I have owned this Durango, the ABS has tried to jump in and help with hard braking, only to take away braking at the worst possible time, and "chatter", like crazy. Scray and dangerous. I trust a well-balanced system, and my foot, more than I trust the ABS system on this truck, so it goes away. I wanted to use the original bracket for the combo valve, but get rid of the ABS electronics. Plasma cutter made quick work of the excess. 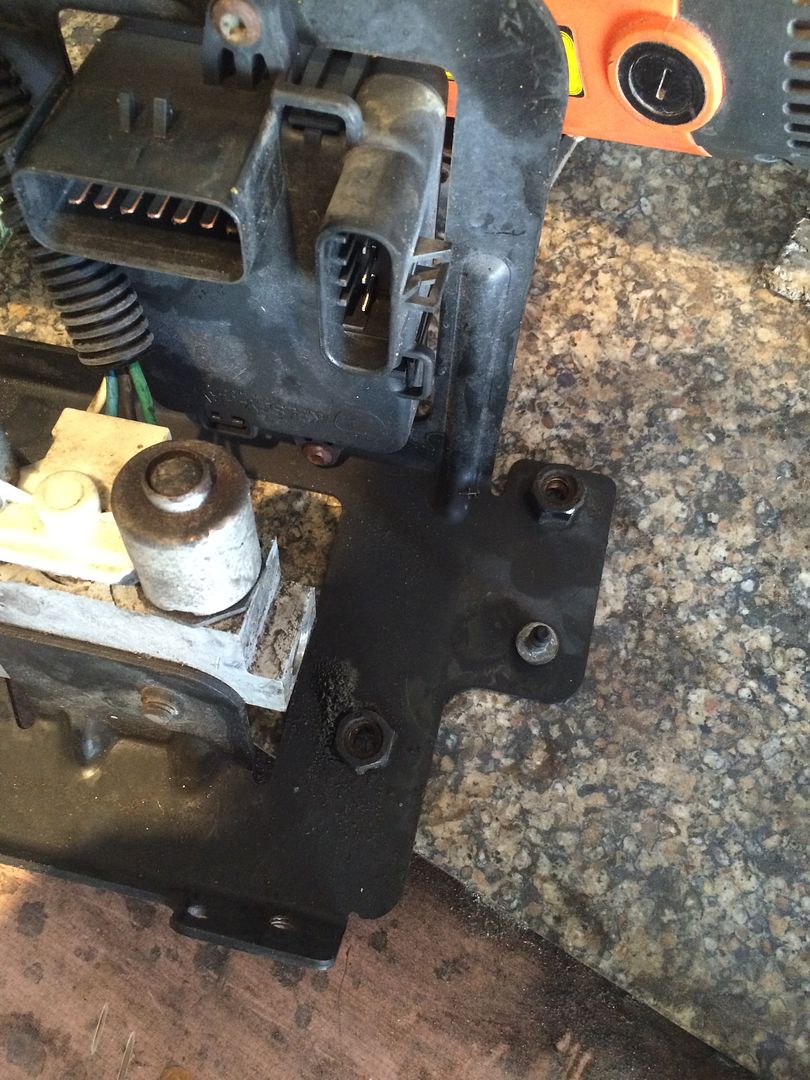 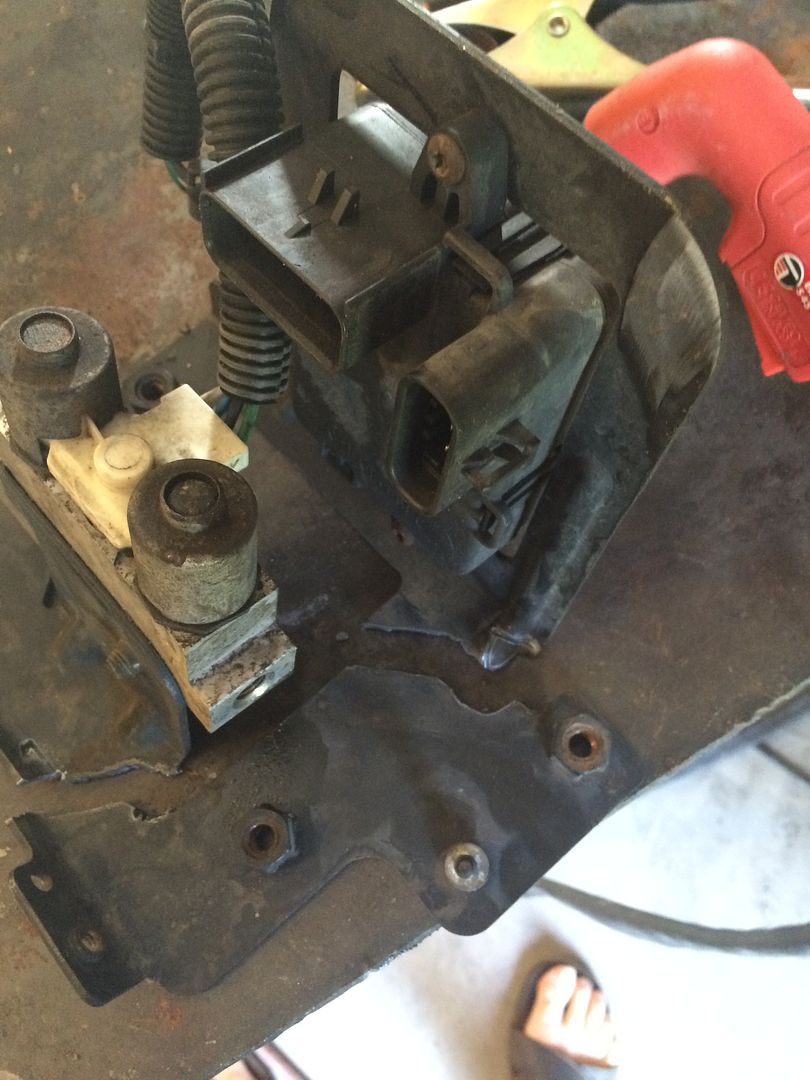 Tear out the rusted line to the distribution blocks. 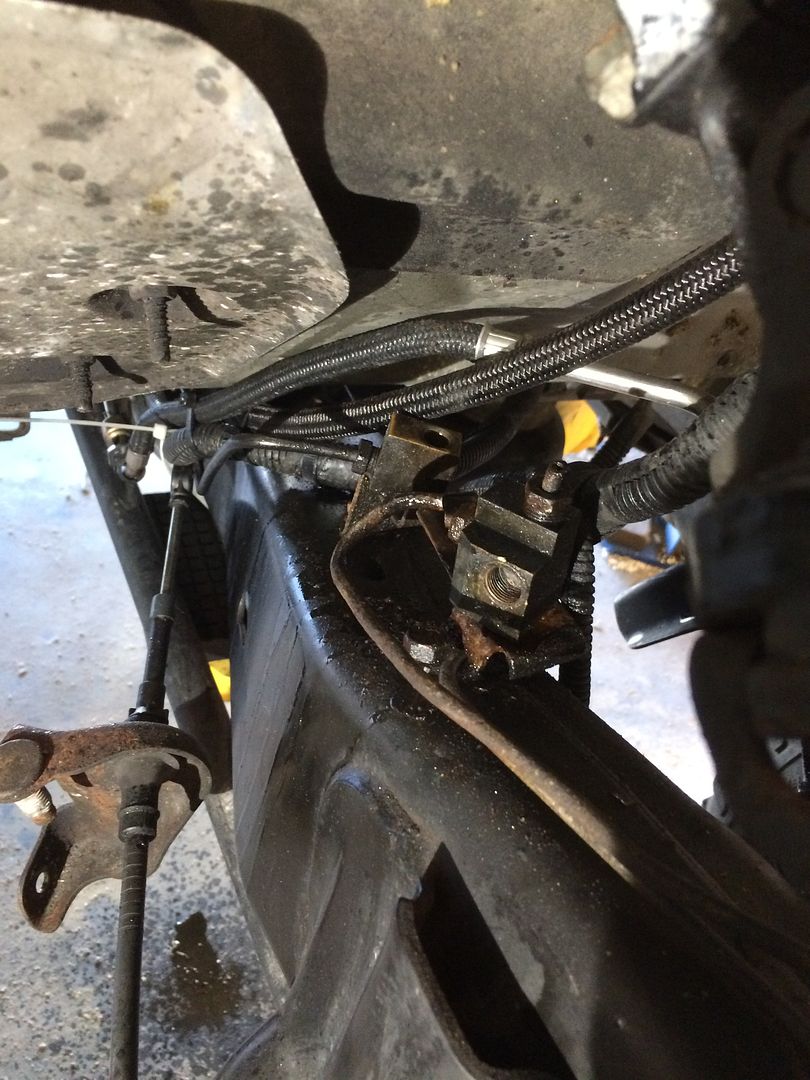 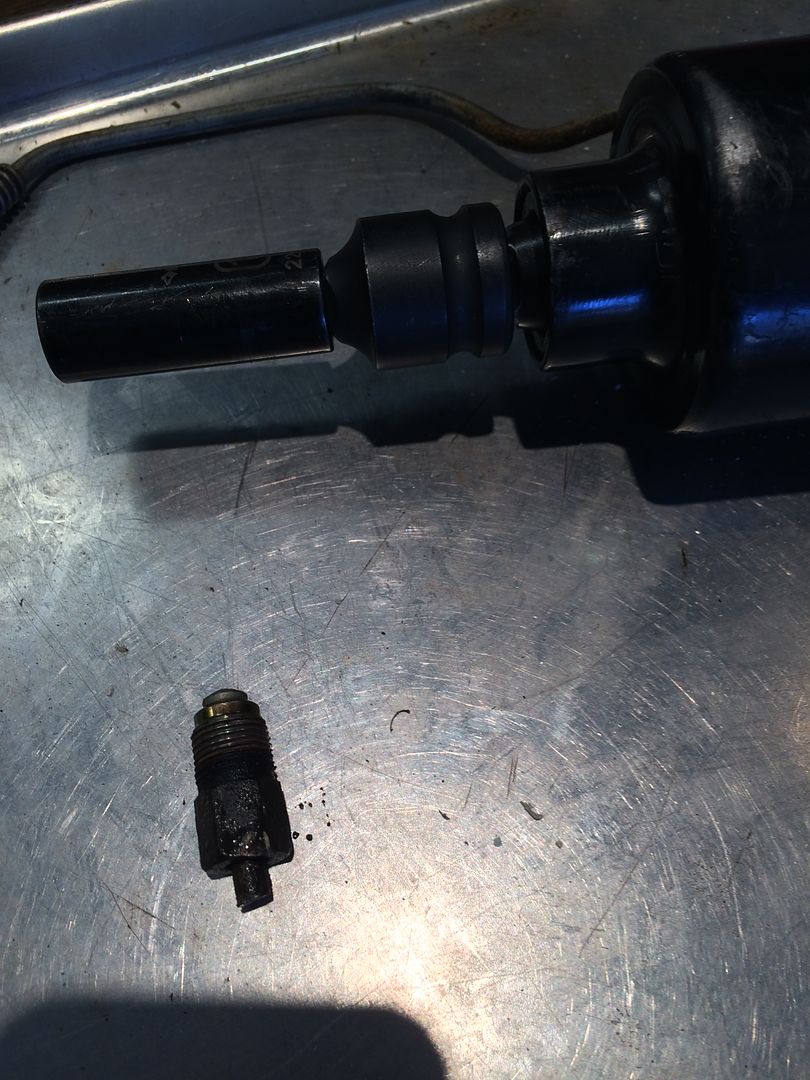 I don't know about you, but I can't stand wrestling a flaring tool around the table. So I drilled a 3/4 inch hole in the table, and stuck the end in it. That way, it stays where I want it while I flare line. 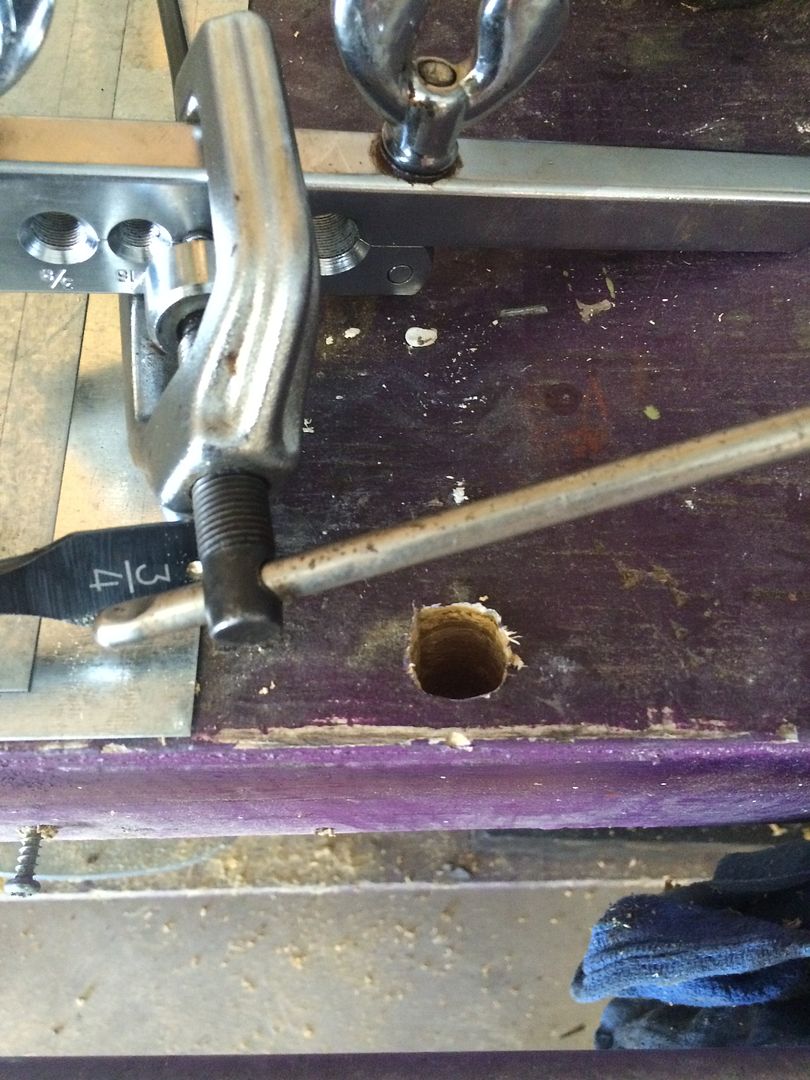 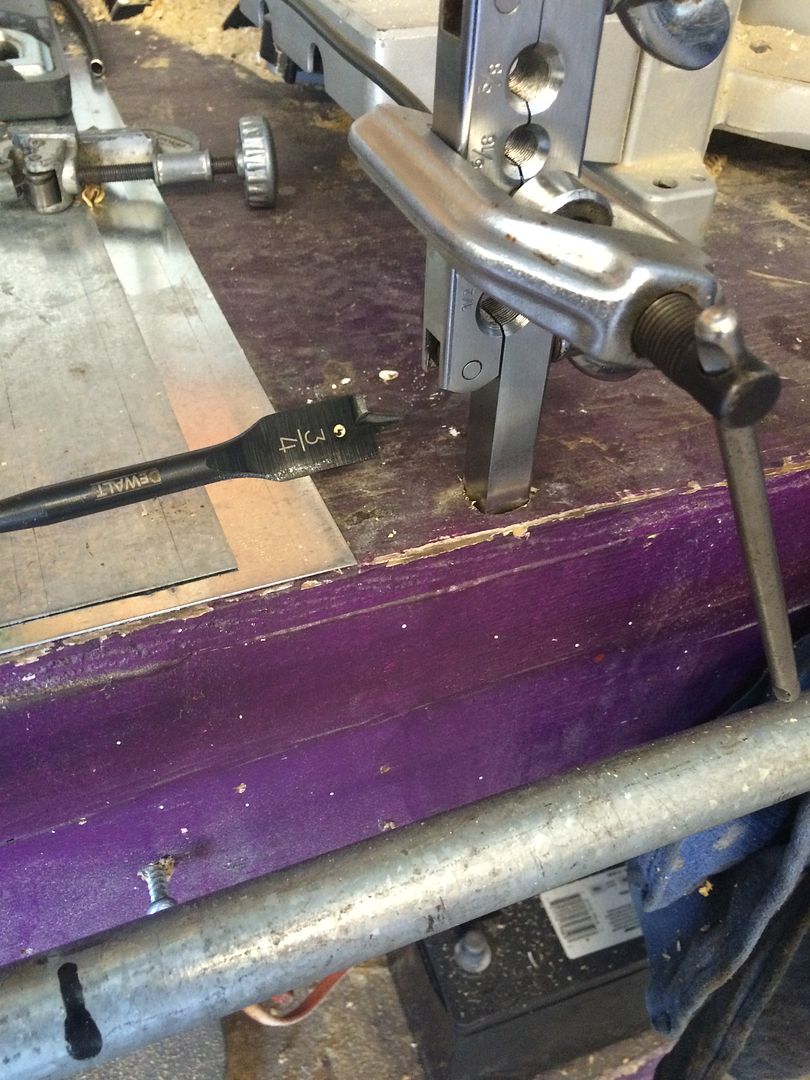 I had to make a new bracket for one of the distribution blocks. The rusted bracket broke when I tried to loosen the fitting. 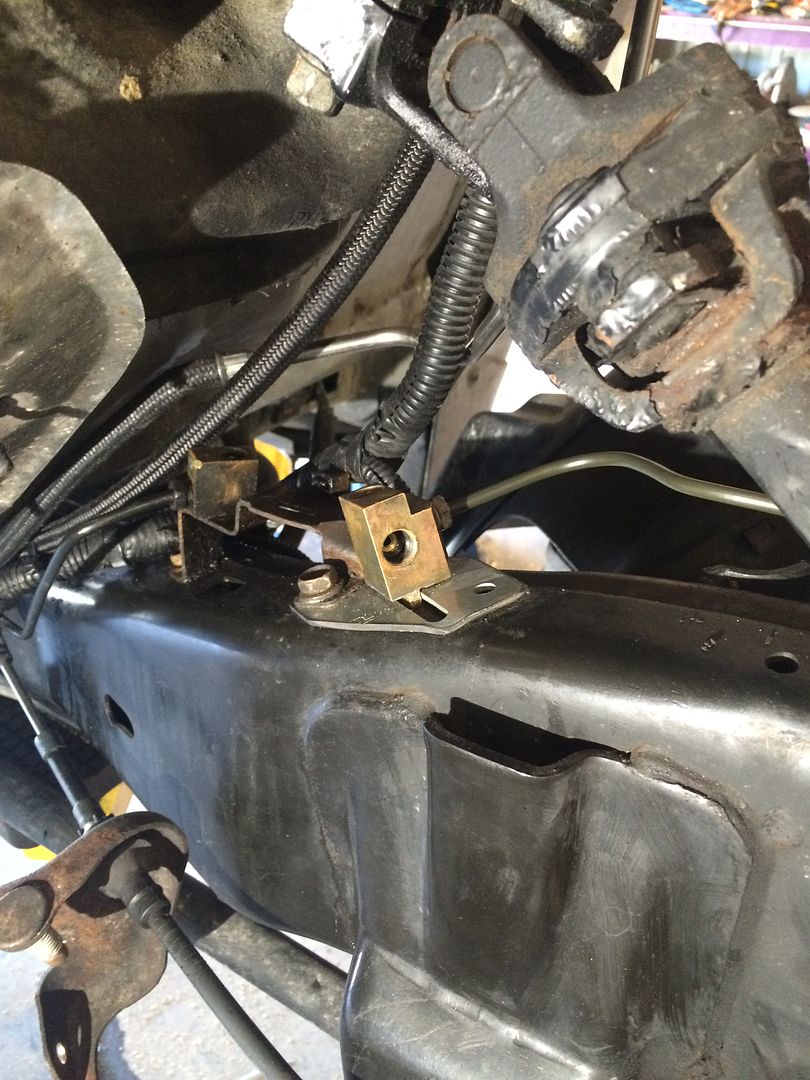 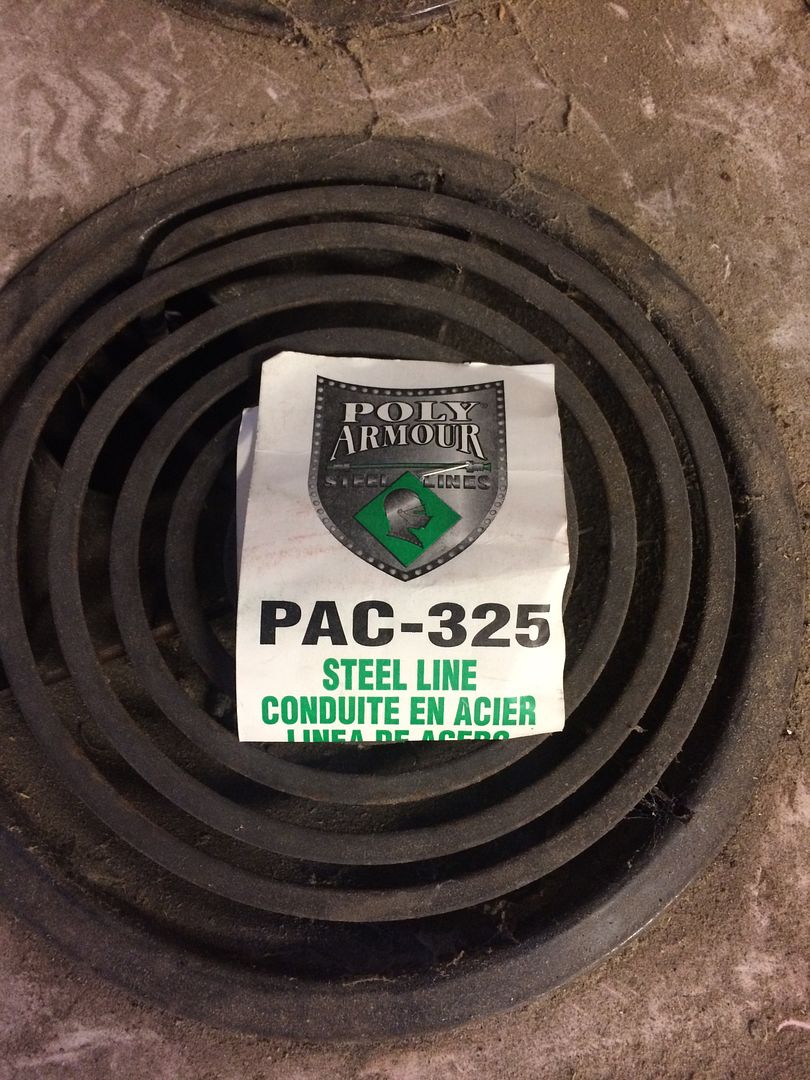 New line bent into place. 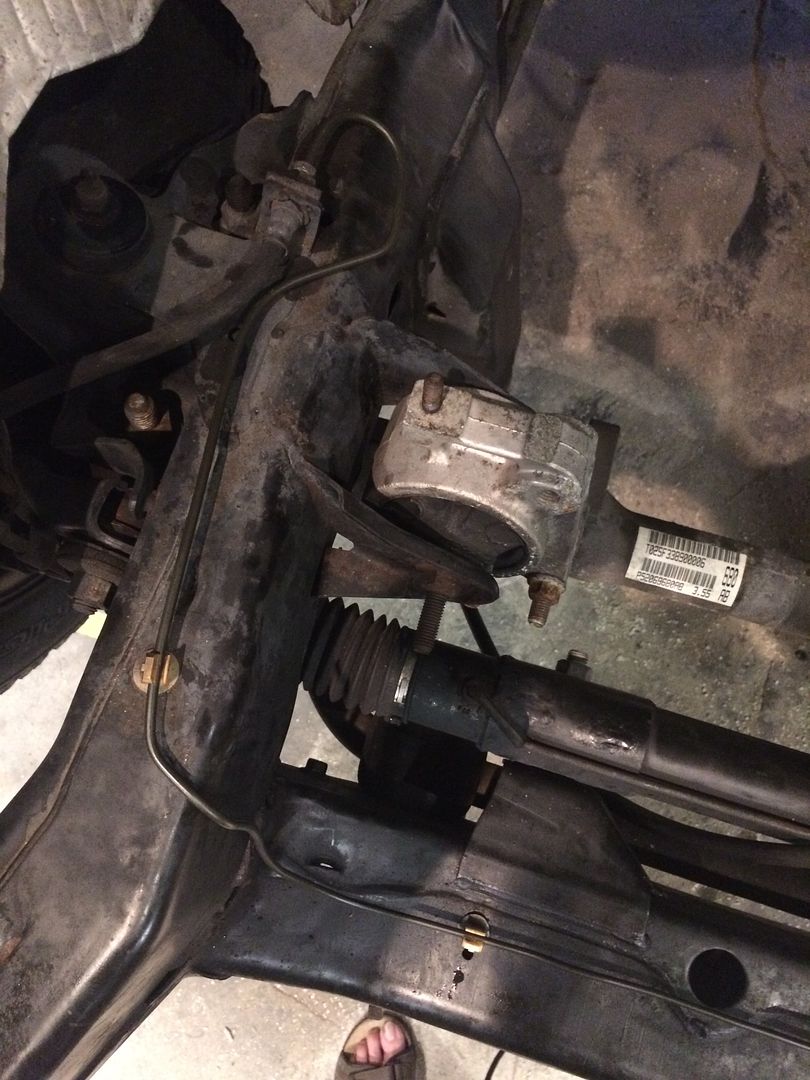 New fittings 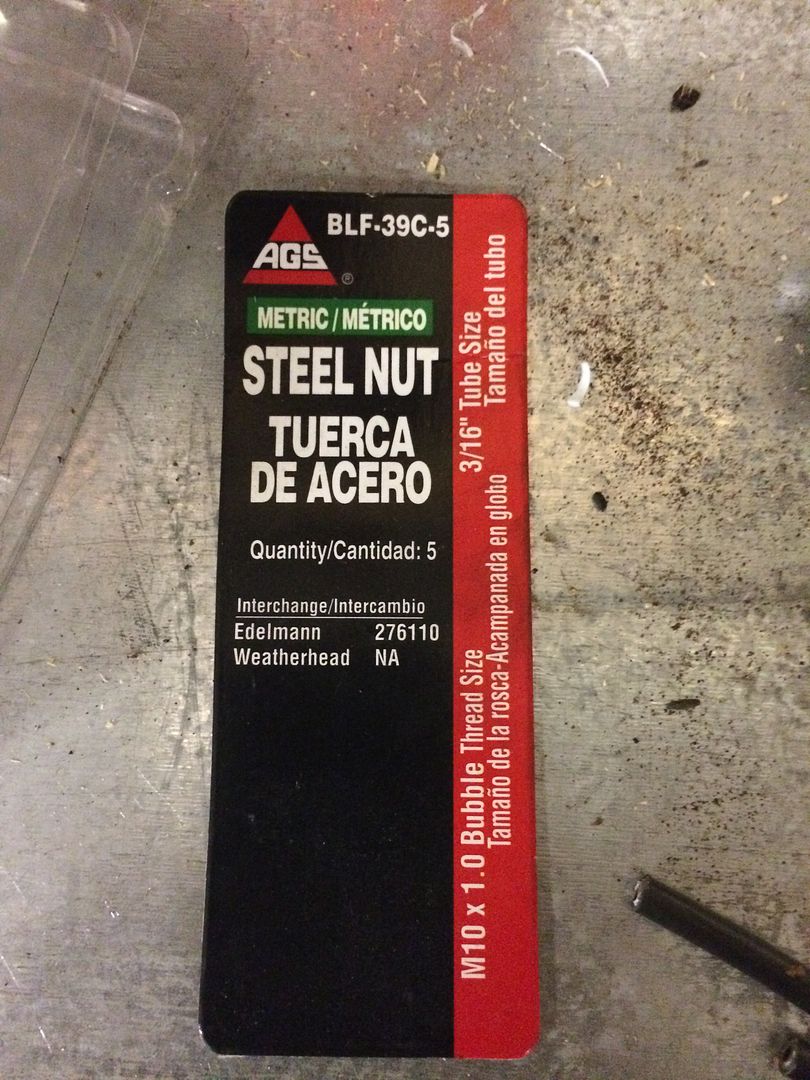 Done. The combo valve is probably one of the most misunderstood components of the braking system. I know people remove them, and replace them with adjustable proportioning valves. In this case, I kept it for 3 reasons. 1) It proportions the front/rear bias pretty well with the addition of the rear disc swap. The braking on this truck has been very well-balanced since we did the swap a couple of years ago. 2) It causes the rear brakes to apply a fraction of a second before the front brakes. Something a proportioning valve doesn't do, but handy to help maintain stability. 3) It sets the brake warning light in the dash if one half of the circuit loses pressure. This will still activate even after the LS swap. 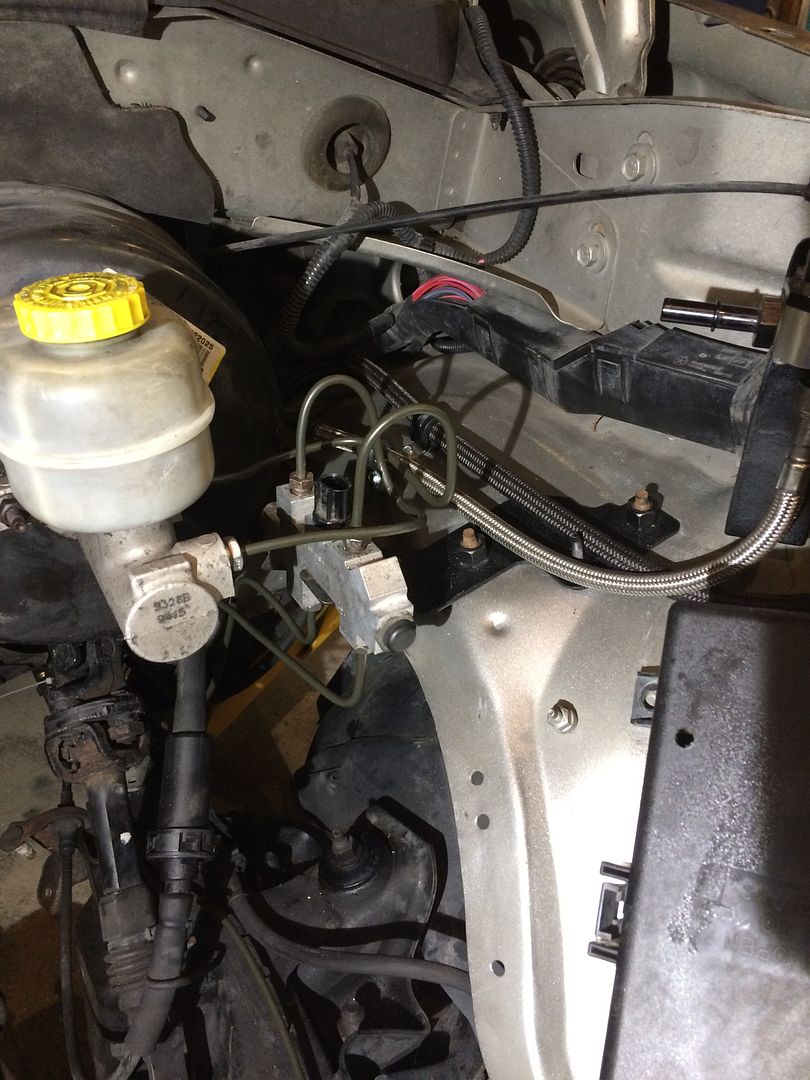 And I also finished the fuel system by adding a new filler neck hose. It was impossible to find the right size at NAPA, autozone or advanced, so I bought vinyl at Home Depot. That is not a kink in the picture, it is a grease smudge. 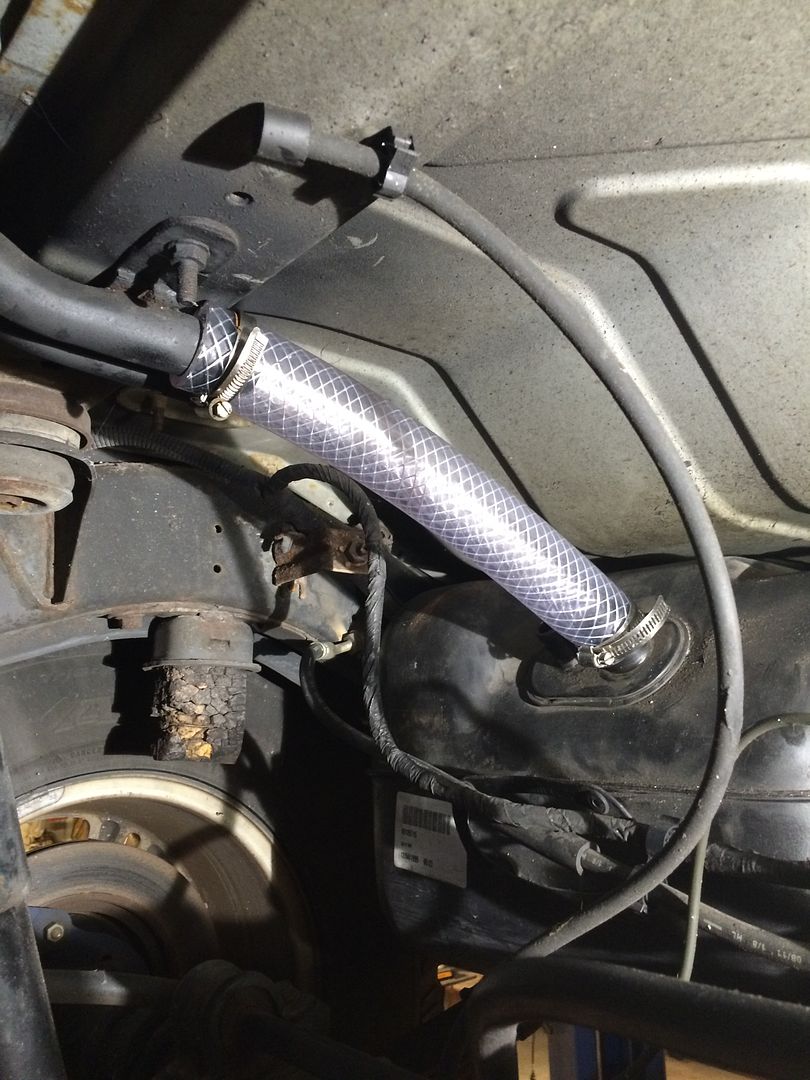 |
|
|
|
Post by hammerdown on Oct 29, 2015 16:43:54 GMT -5
This is turning into a VERY interesting thread. BTW, that bump stop is shot. Haha
|
|
|
|
Post by casias on Oct 30, 2015 6:20:08 GMT -5
Thanks. I guess I didn't notice that. One more thing on the short list.
I am sitting and waiting for my drivetrain now. I can't really move forward on anything else until I get it. Although, I do have another project for this weekend.
|
|
|
|
Post by casias on Oct 31, 2015 10:12:47 GMT -5
Well, the build is in a rain-delay. Just when you think you have two nice cars to drive while you work on a project, something happens to change that. I guess if the damage is worse than it looks, I will have an LS2 to use in the Durango. 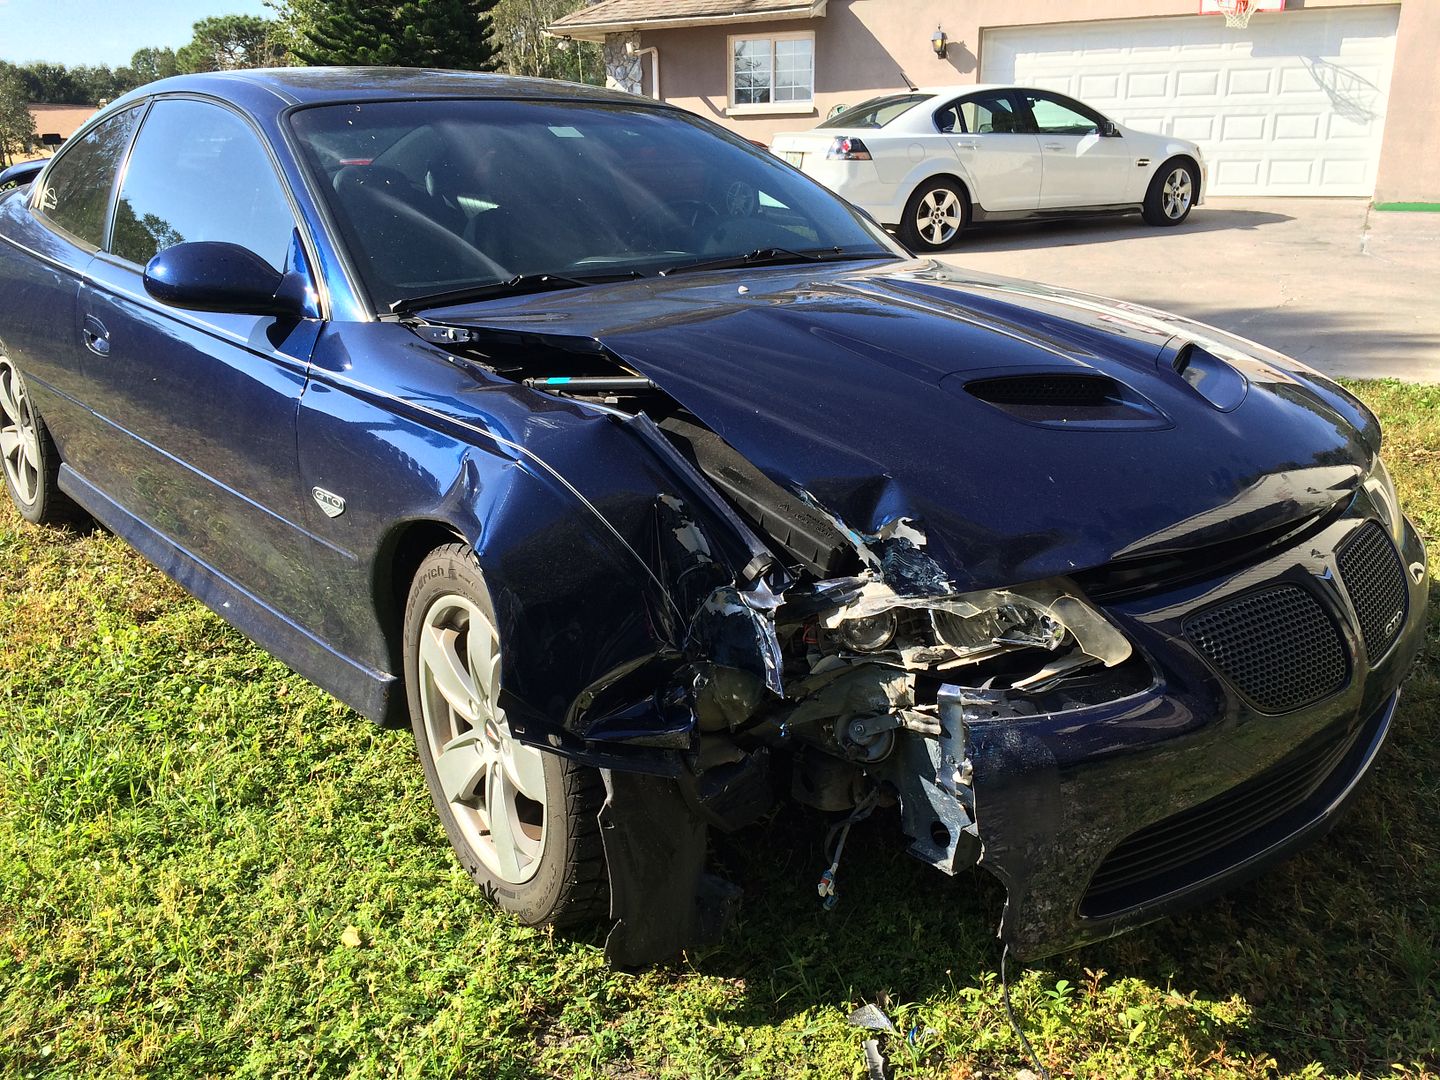 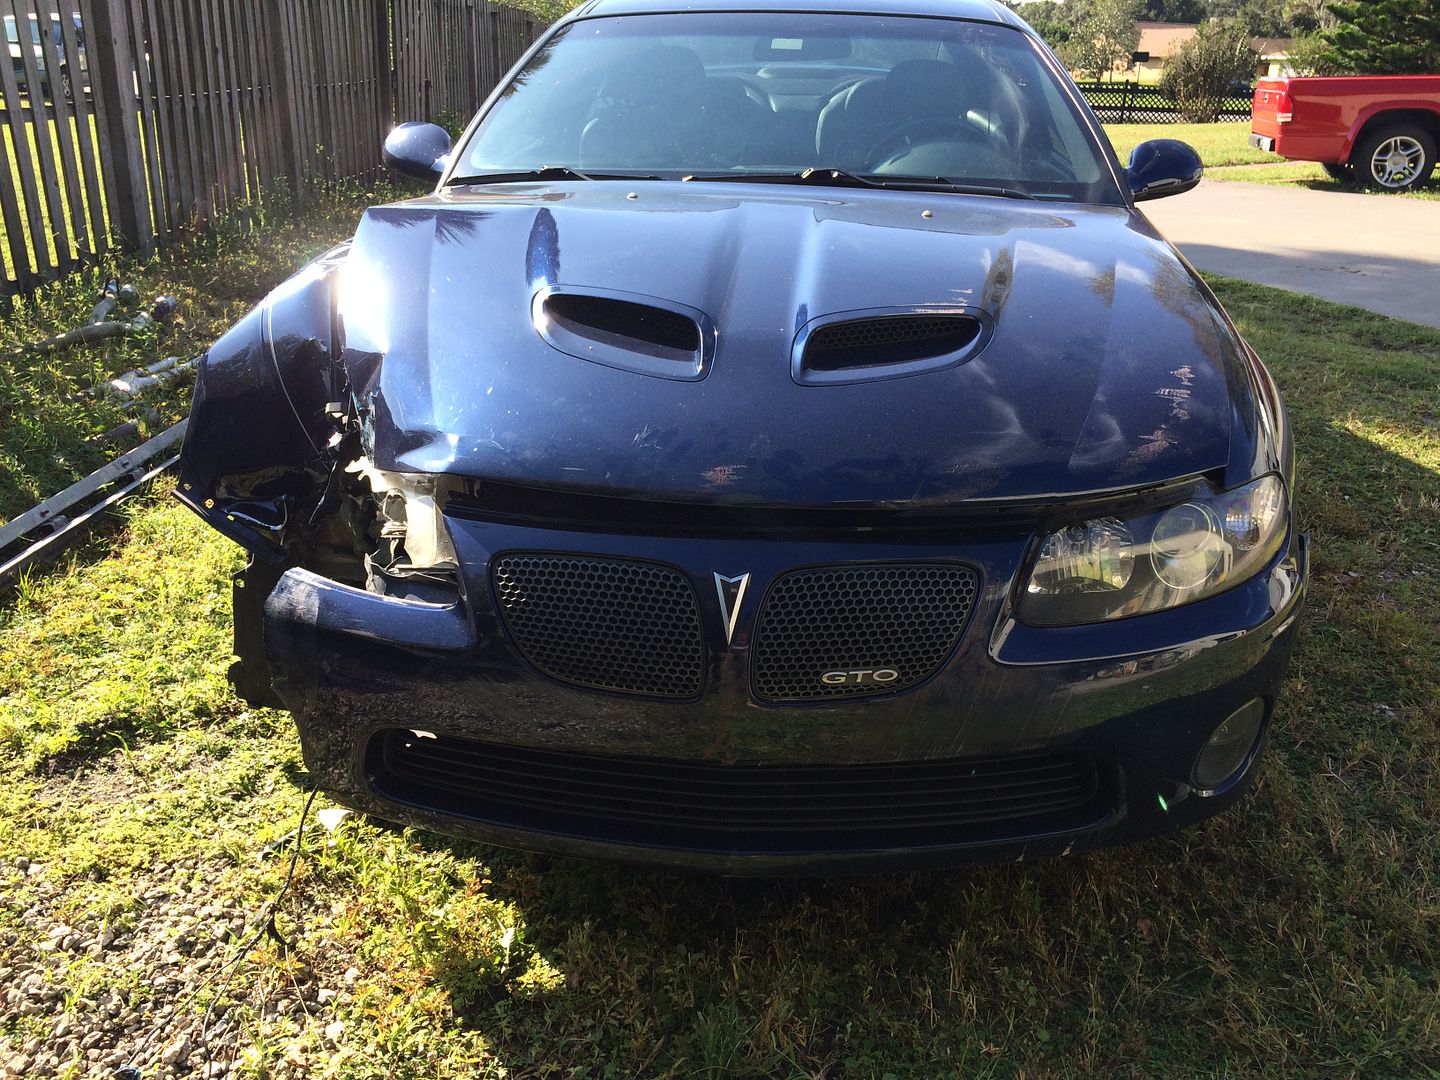 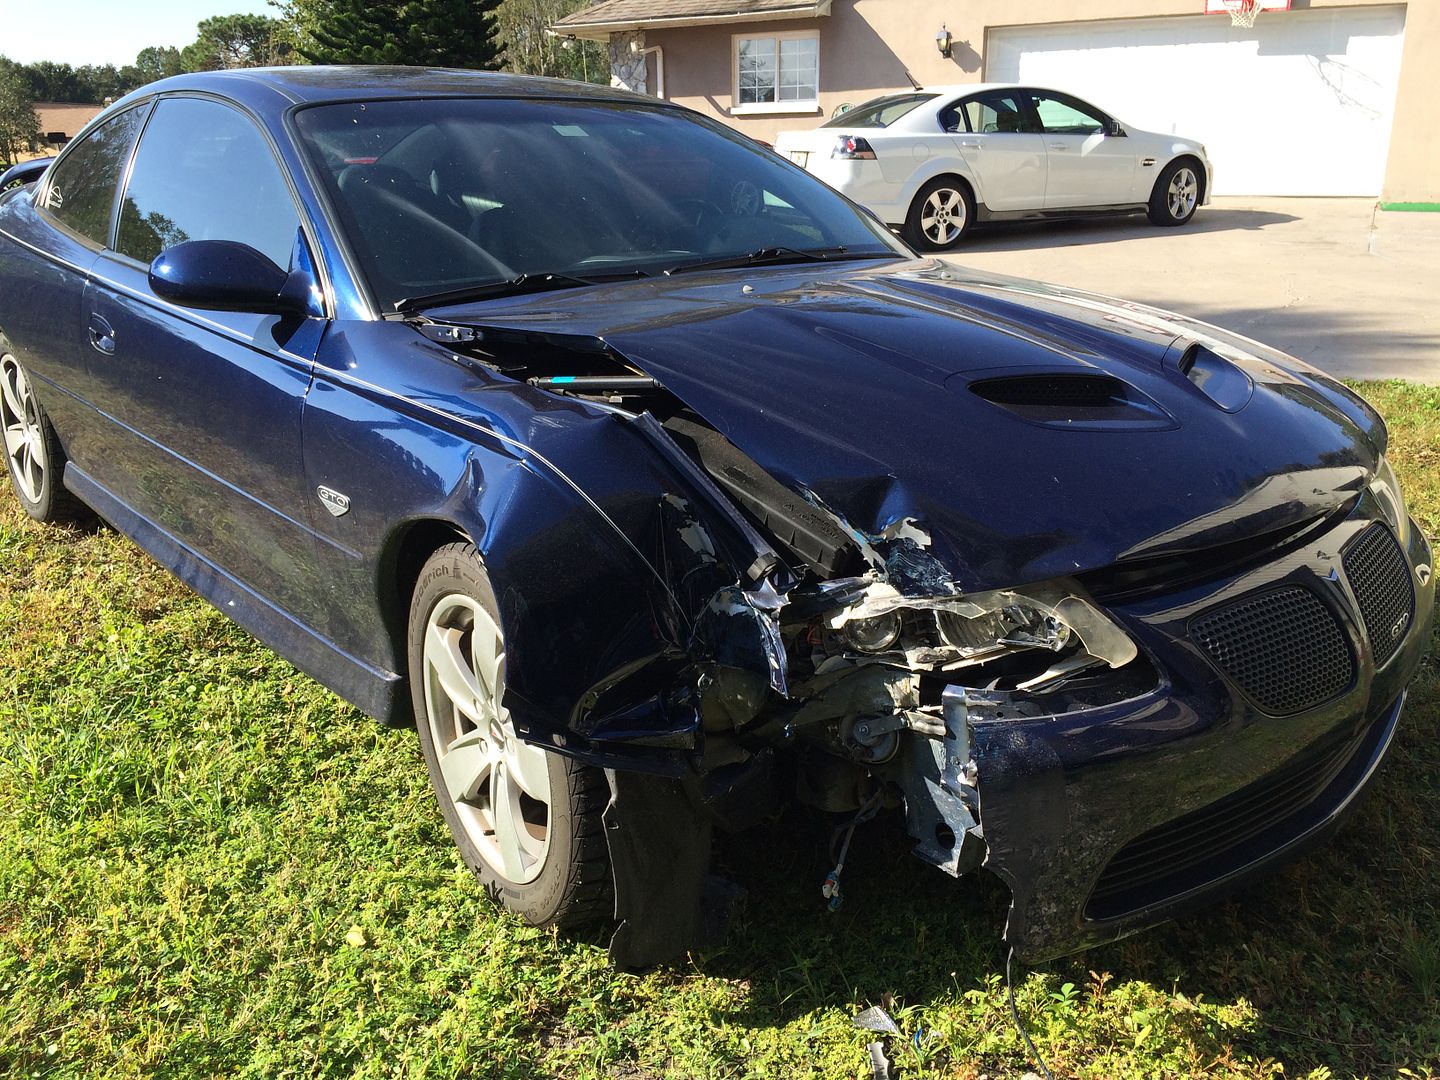 |
|
|
|
Post by hammerdown on Nov 6, 2015 14:33:08 GMT -5
Ouch!!! hopefully it can be repaired or at least you get a fat check from insurance.
|
|
|
|
Post by casias on Nov 8, 2015 18:53:05 GMT -5
Sunday was a pretty productive day for moving forward. On Friday, I was told for the second time that the Escalade drivetrain I wanted to buy was "no longer available". I getting pretty tired of waiting for these to be sold out from under me. So...hit craigslist. I came across this LS3 from a 2014 SS with 14k miles "hydrolocked", that happened to be about 10 miles from my house. And, I knew the guy selling it. He thought it had bent valves, and at least one or two bend connecting rods, but all of the piston sleeves were undamaged. It does not turn over 360 degrees. He decided to take the insurance money, and replace it with a new, take-out ZL1. When I picked it up, it had all 16 pushrods perfectly straight, so it didn't seem that bent valves was possible. Get it home, whip of the heads, and Yay! Valves are all ok, and there are no dings on the piston heads. I am pretty sure it was bent conecting rod(s), and may need a new crank. I will get to the shortblock teardown this week. And...a bonus. He gave me a brand-new LSA cam and springs, and the LS3 intake, rail and injectors. Very nice. Here are some pics. 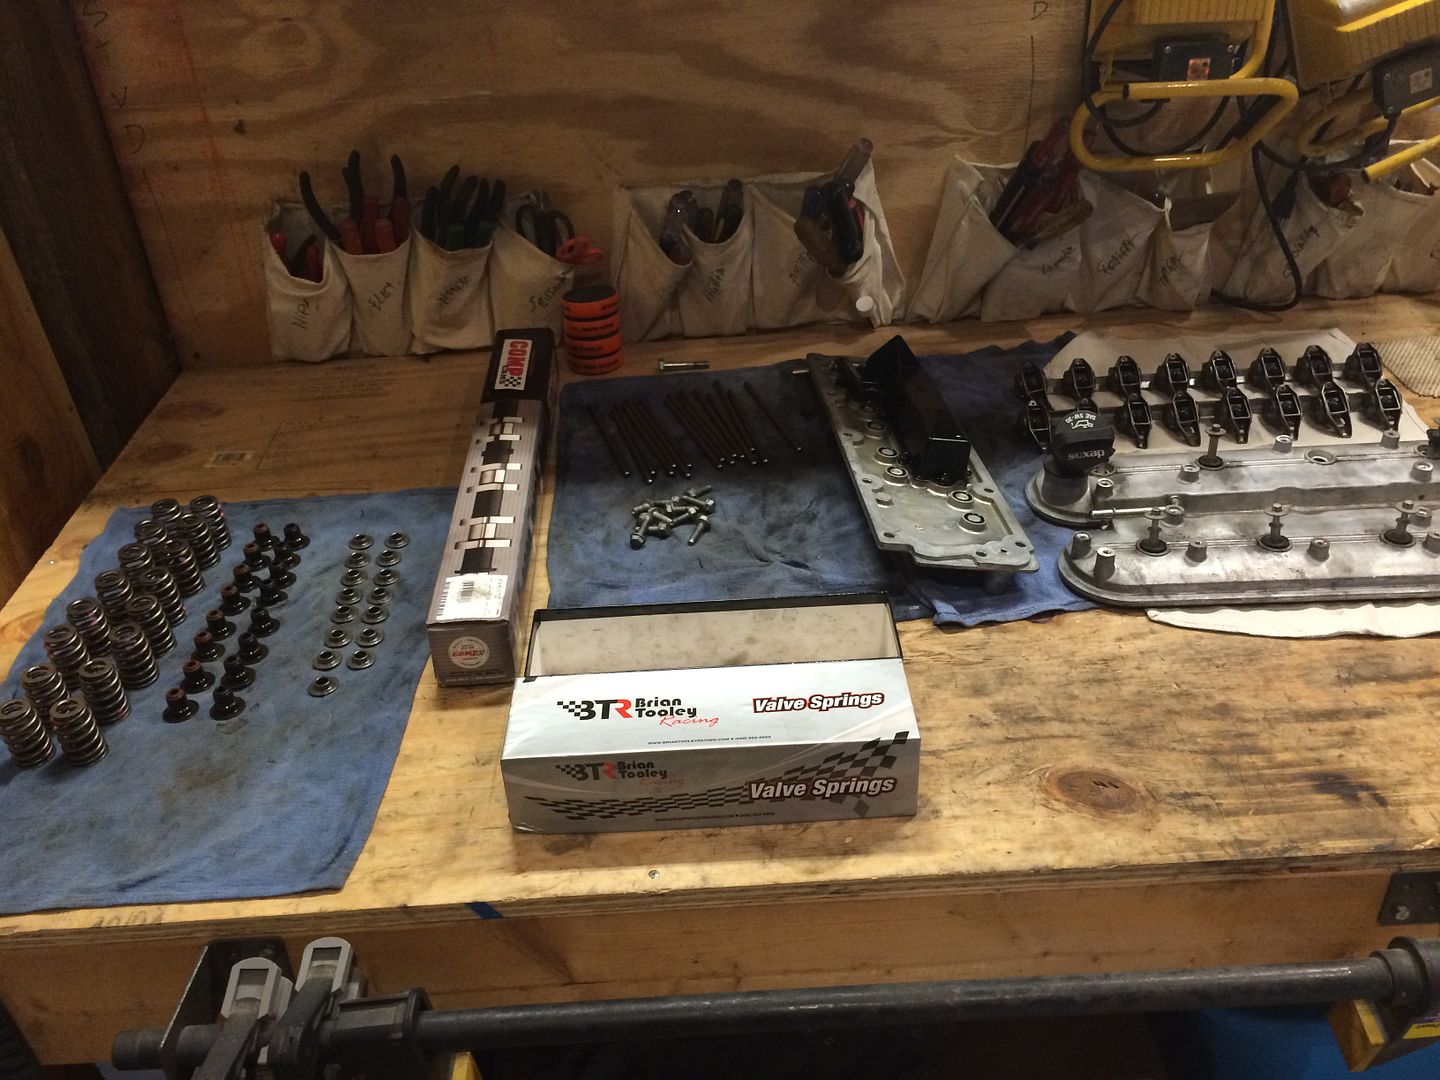 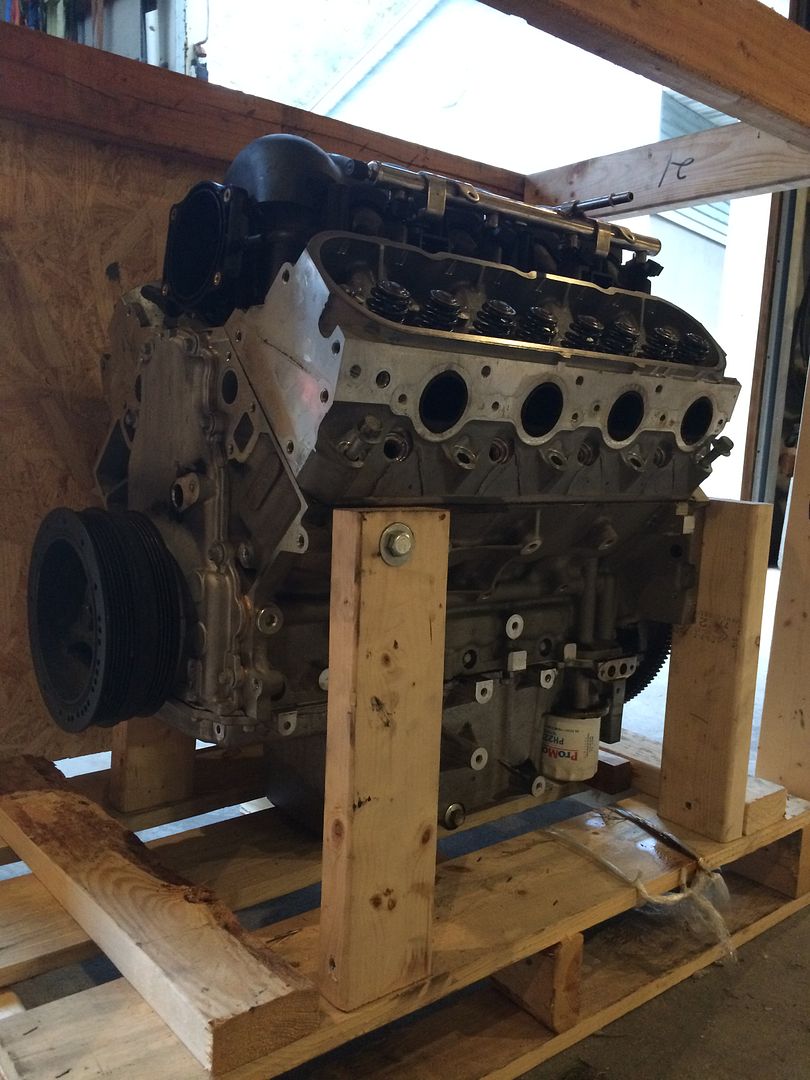 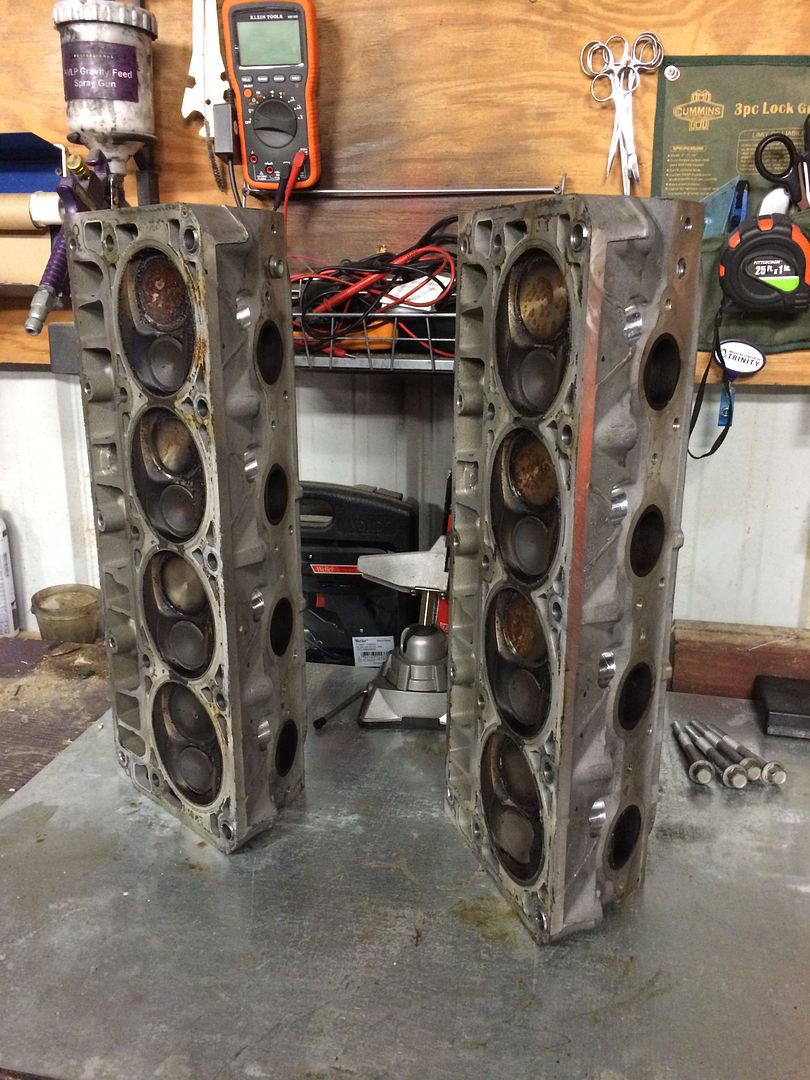 |
|
|
|
Post by casias on Nov 21, 2015 12:32:06 GMT -5
Today it was time to clean up these heads, check for bent valves, and lap the seats. I had help from my son. Pulling the springs 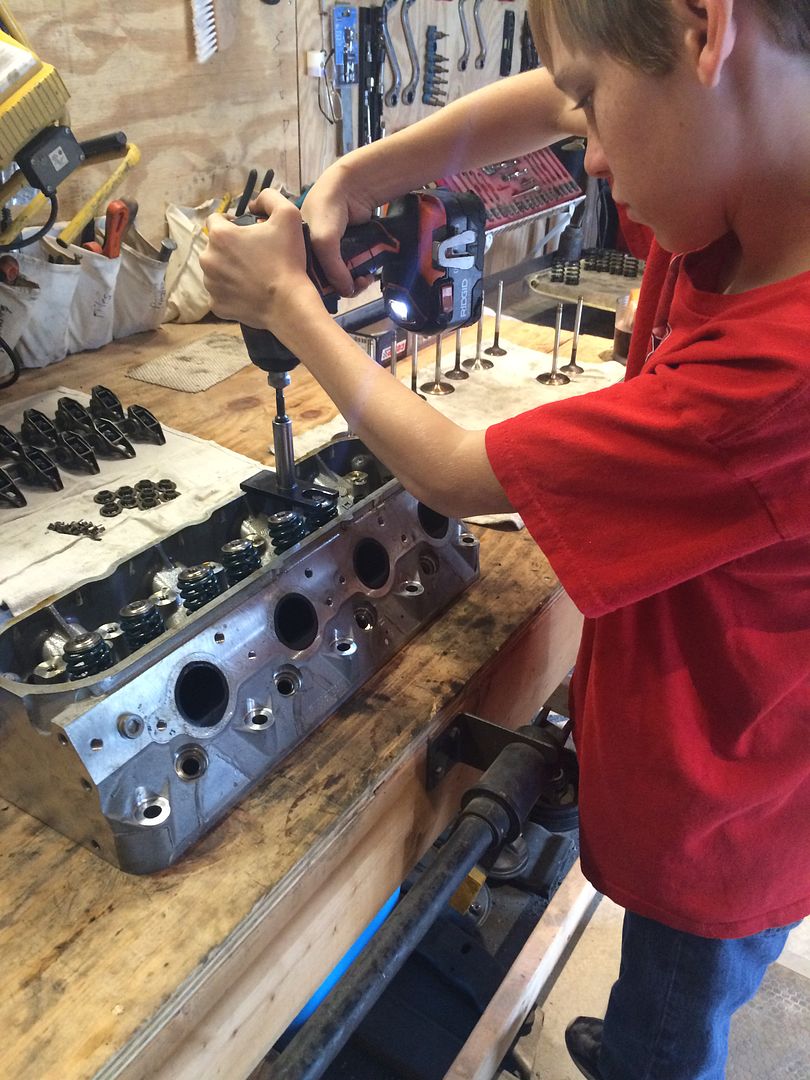 Lapping the valves. I didn't buy lapping compound, because I will use about a tablespoon out of the $12 jar, and then leave it on a shelf until it dries out. How about some Turtle Wax rubbing compound? 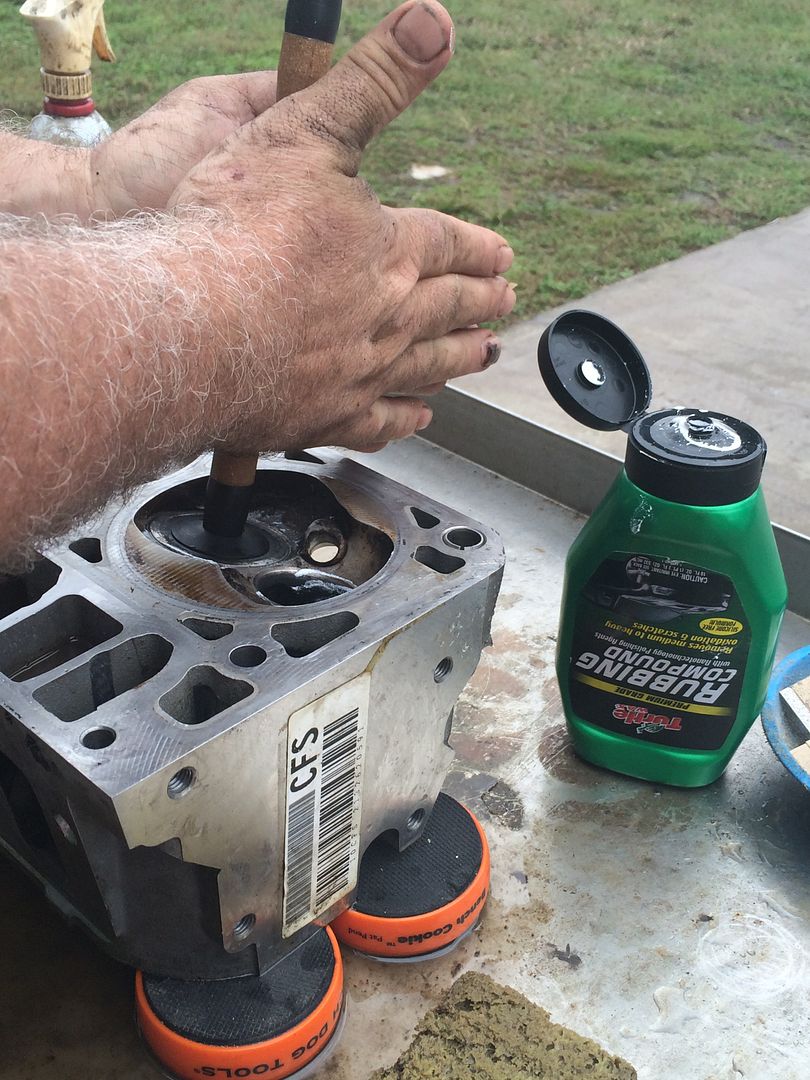 And Garrett's turn. 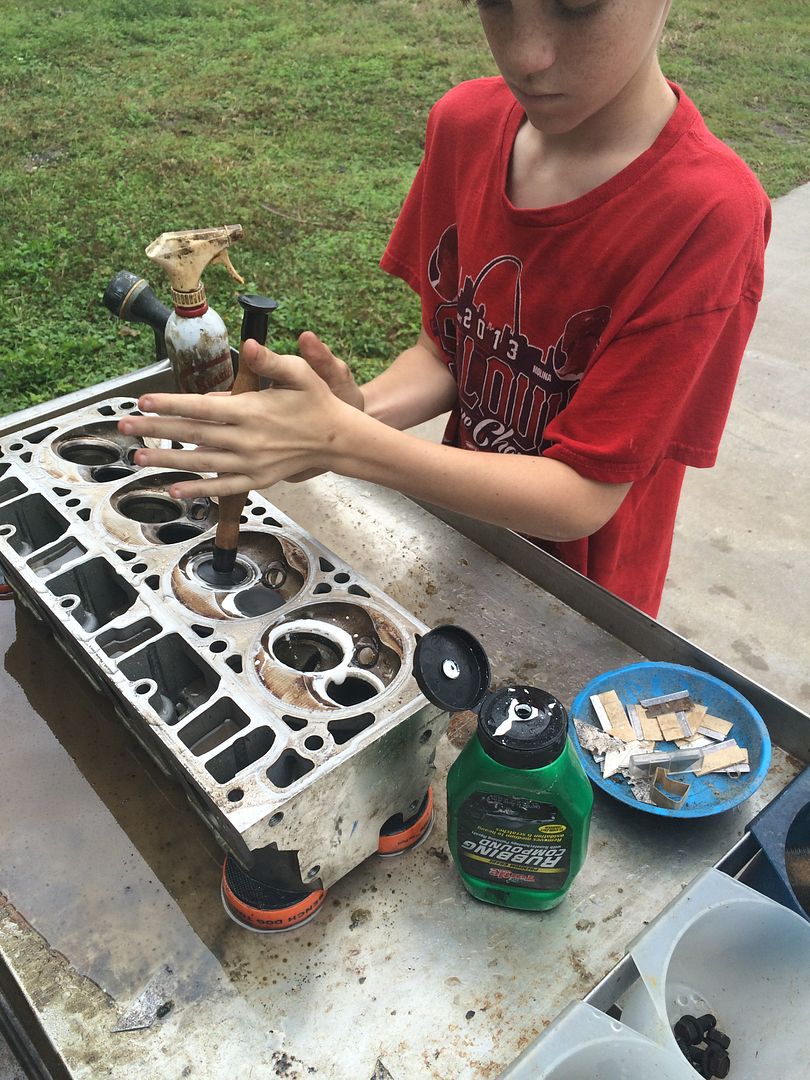 Nice Turtle Wax shine on the valve seat. 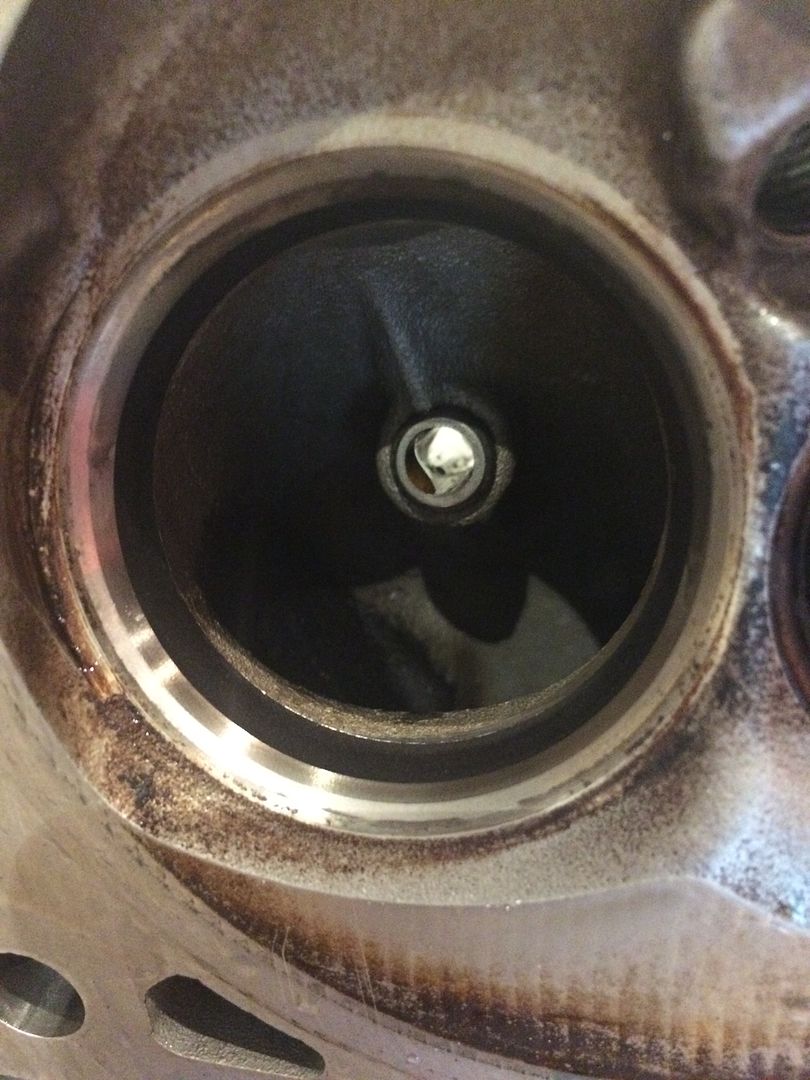 By the time I was done, the stud had stripped on my puller tool, so I welded the nut in place, and added a stack of washers. 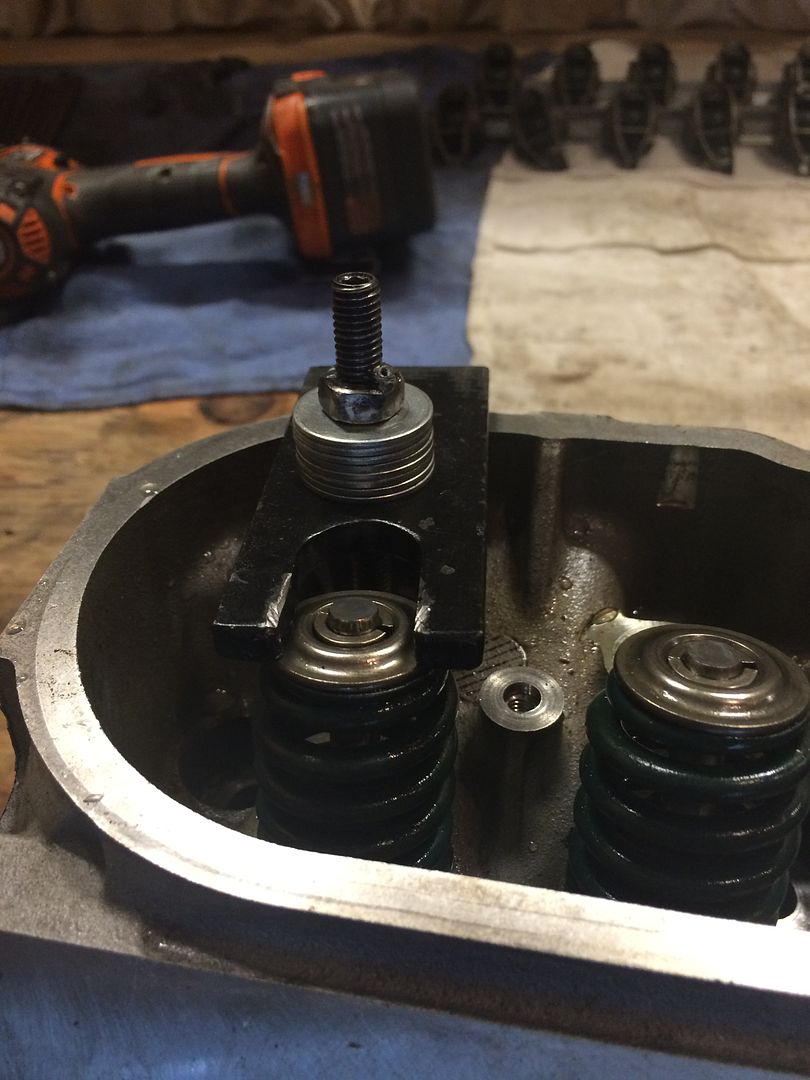 |
|
|
|
Post by casias on Nov 21, 2015 12:52:04 GMT -5
And here is the replacement for the GTO. A 2006 with manual transmission this time. Has ported heads, cam, exhaust and some suspension work. It was a recovered salvage. I bought the blue one back from the insurance company for $4400, so I can start sourcing parts for it.  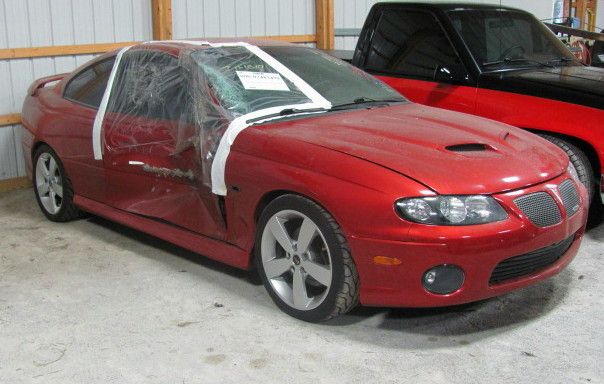 |
|
|
|
Post by casias on Nov 27, 2015 8:22:55 GMT -5
|
|
|
|
Post by casias on Nov 28, 2015 22:04:54 GMT -5
Today, it was time to remove the main caps. I have seen a couple of really expensive tools. Powerblock TV showed how to drill the center of each main cap, thread and insert a bolt, and use a slide hammer to pull them. This seemed pretty extreme. Other videos show people wiggling them out. I was not so lucky. They were tight. So I made this tool from a curtain rod bracket and a piece of emt comduit. Worked nice. 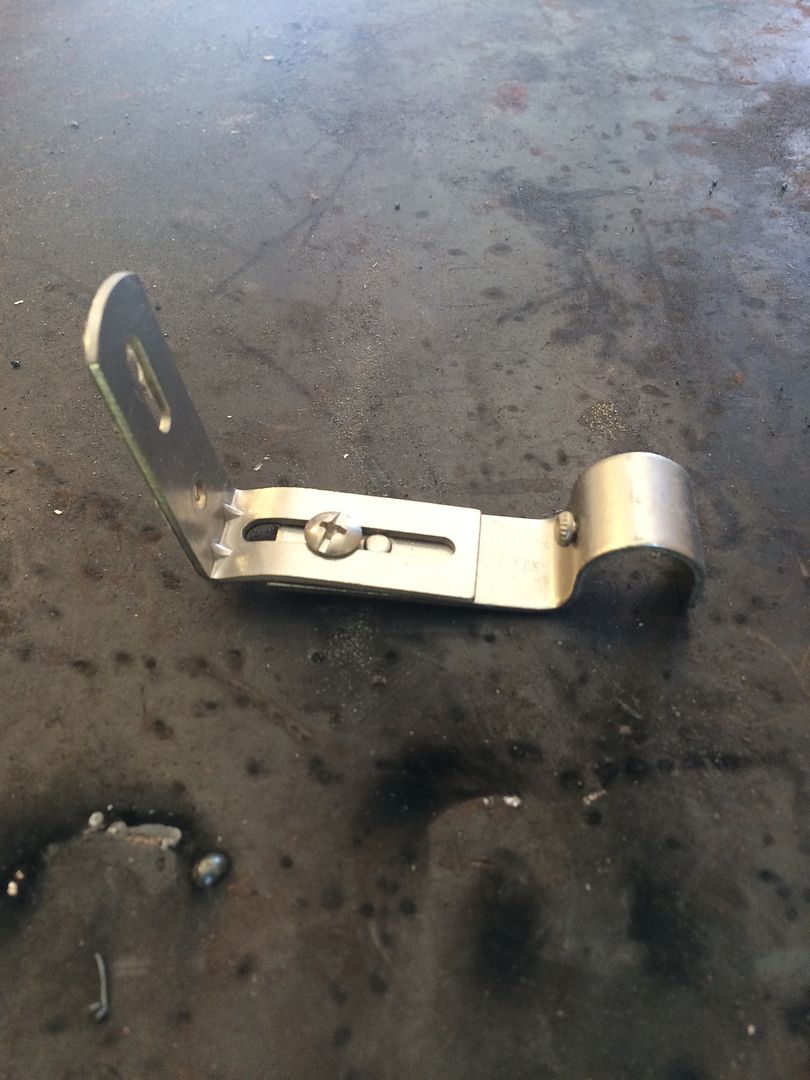 Welded two together to make the bracket more ridgid. 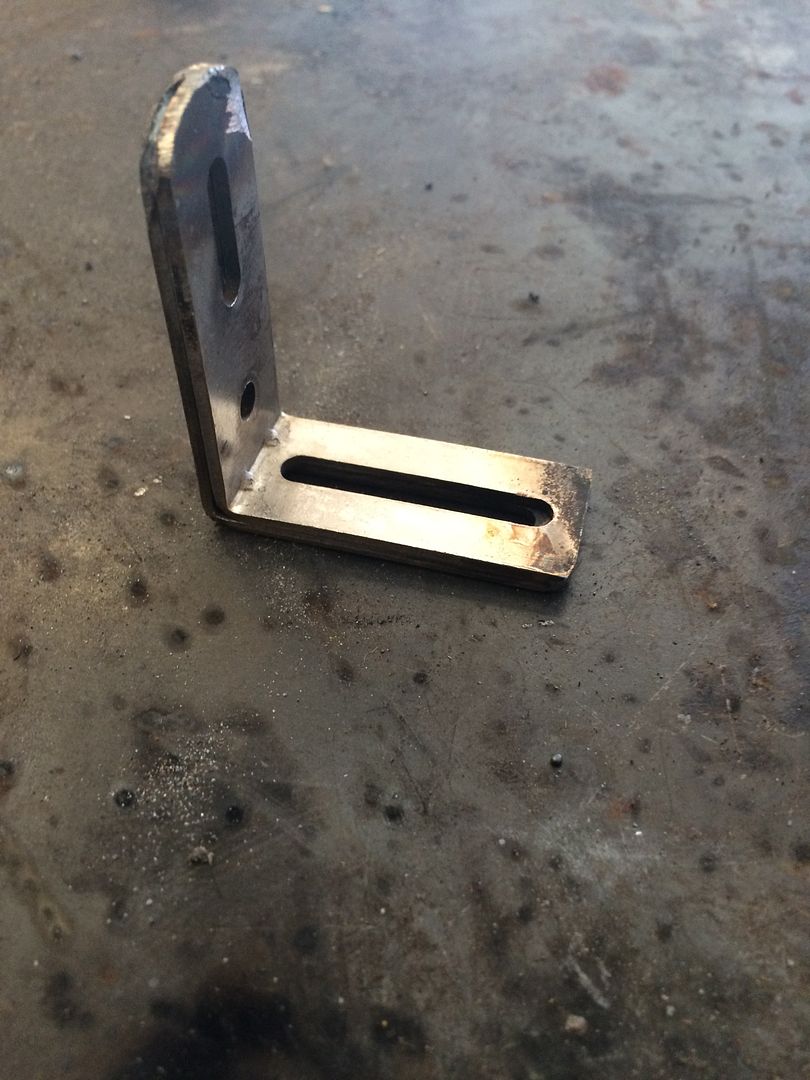 Welded piece of round tube perpendicular, and wrapped in Gorilla Tape 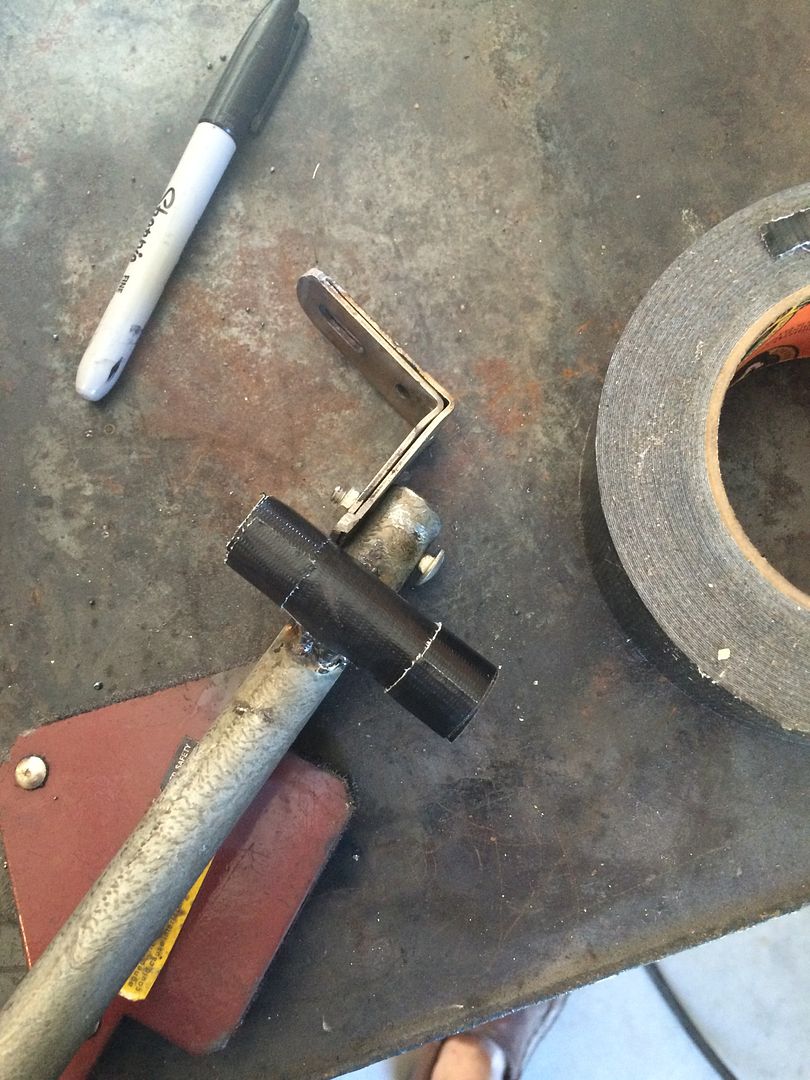 Insert under cap on one side. "pop" 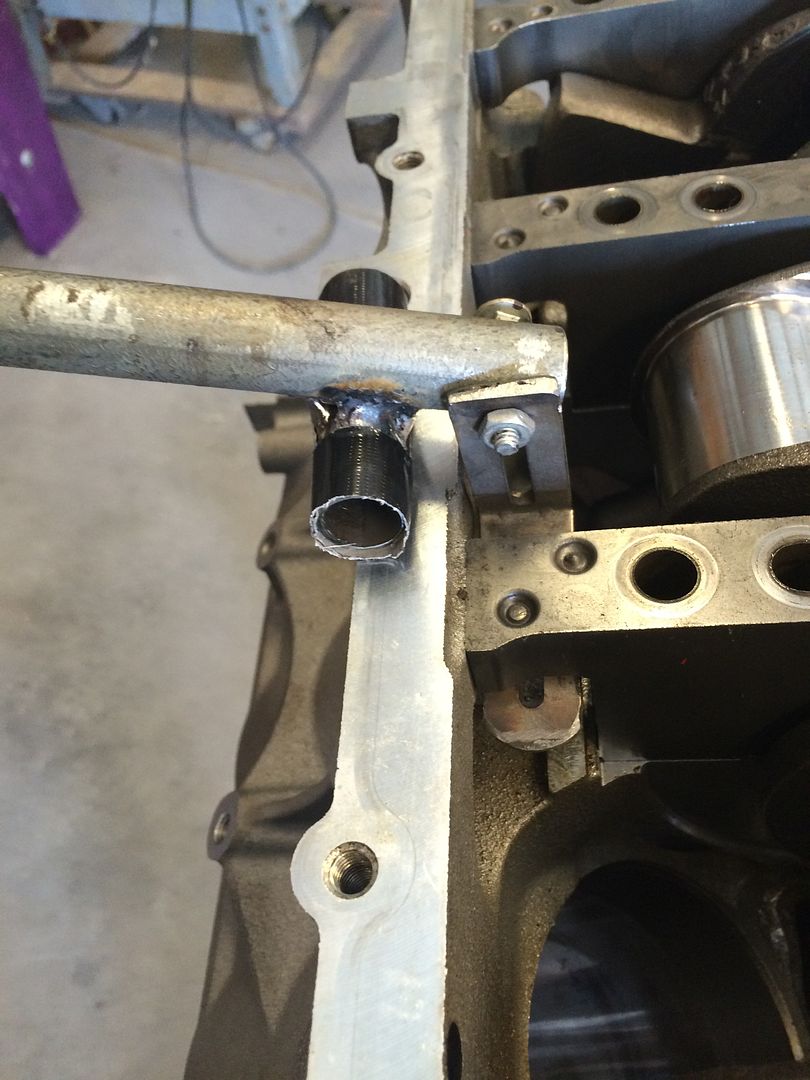 Out it comes. 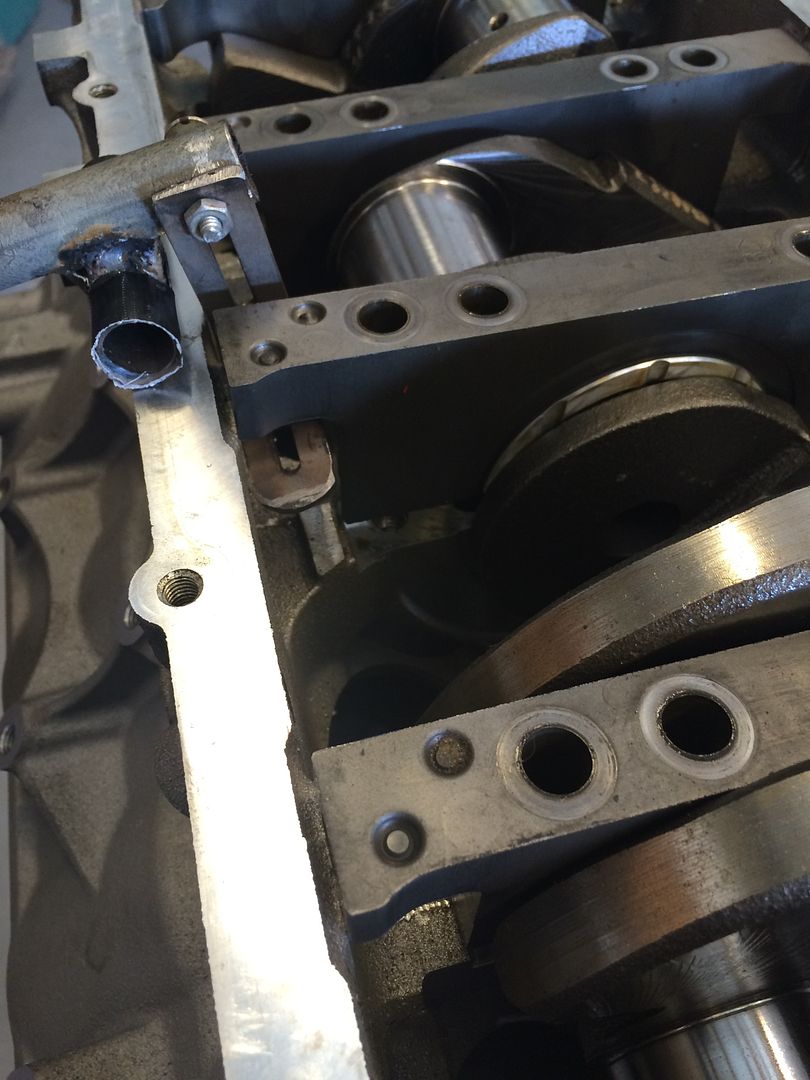 |
|